My Experience Using the Switch Health Antigen Test Kit
In October 2021, Air Canada and Switch Health launched a series of self-administered testing products to serve Canadian travellers’ testing needs at the start and end of their international trips.
Our writer T.J. has shared his experience using the Switch Health RT-LAMP Test Kit, which can be taken within 72 hours of boarding a flight to Canada to satisfy re-entry requirements.
Last week, I travelled to the US and needed to complete a negative COVID-19 test within three days of entering the US. As of today, this requirement has now been tightened to within one day of entering the US in response to the emergence of the Omicron variant.
In this article, I’ll share my experience using the Switch Health Antigen Test Kit to satisfy the US pre-travel testing requirement.
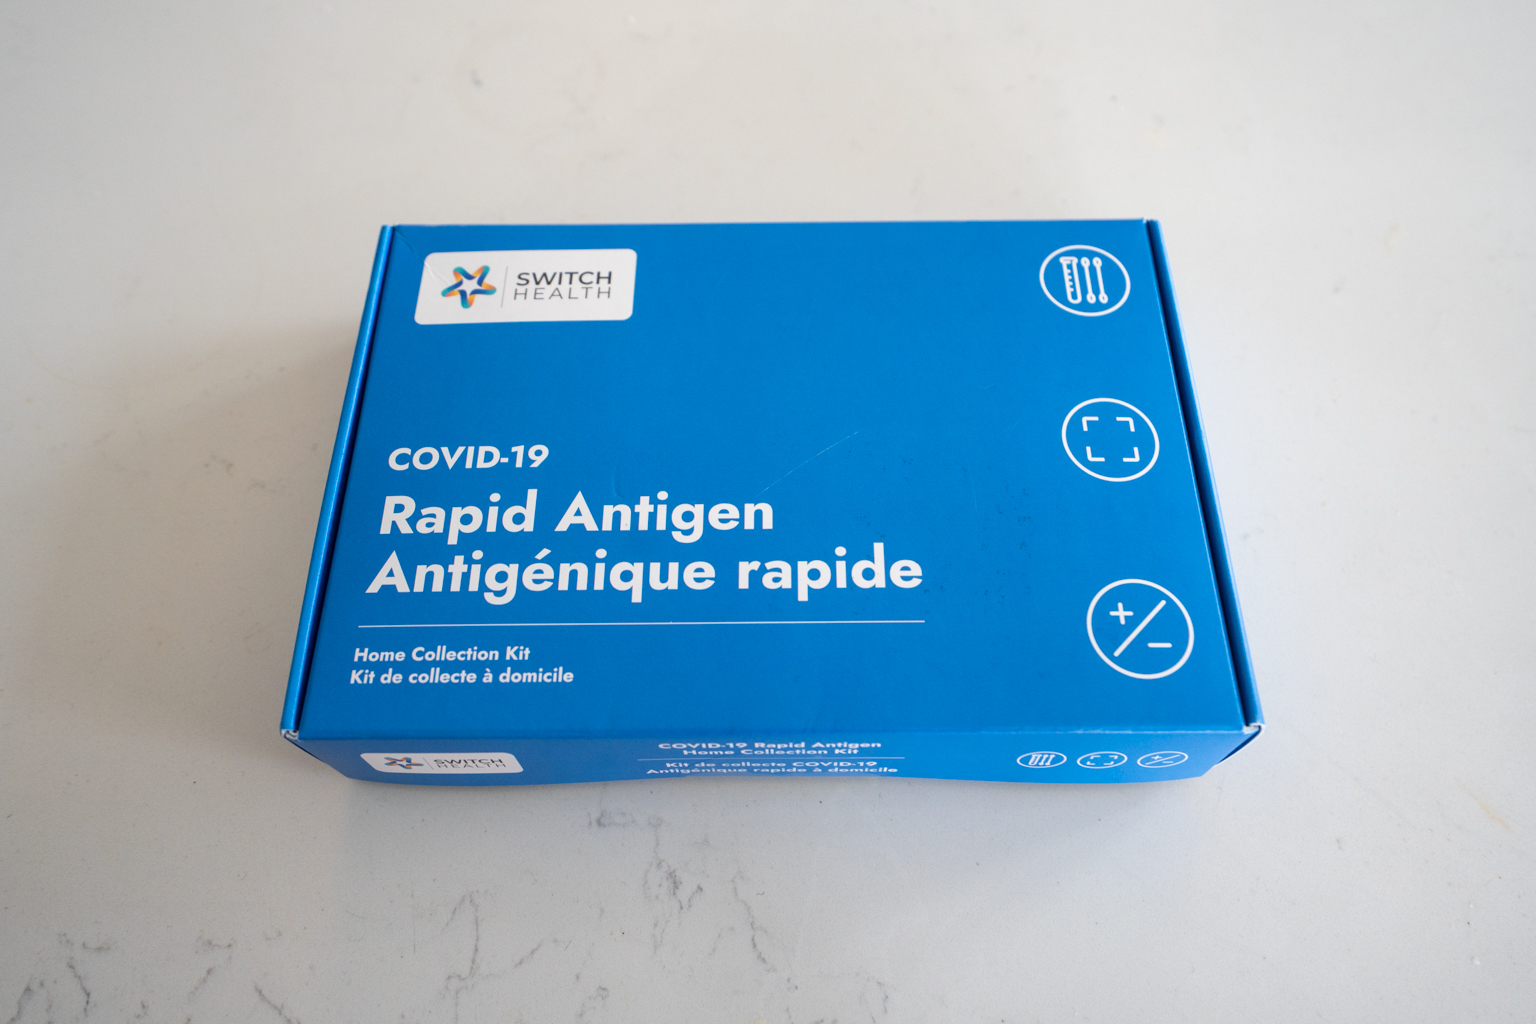
Switch Health Antigen Test Kit
The Switch Health Antigen Test Kit is available for purchase from Switch Health for $79 plus tax. You need to be an Aeroplan member to purchase the test kit, and you’ll earn 500 bonus Aeroplan points as a reward for doing so.
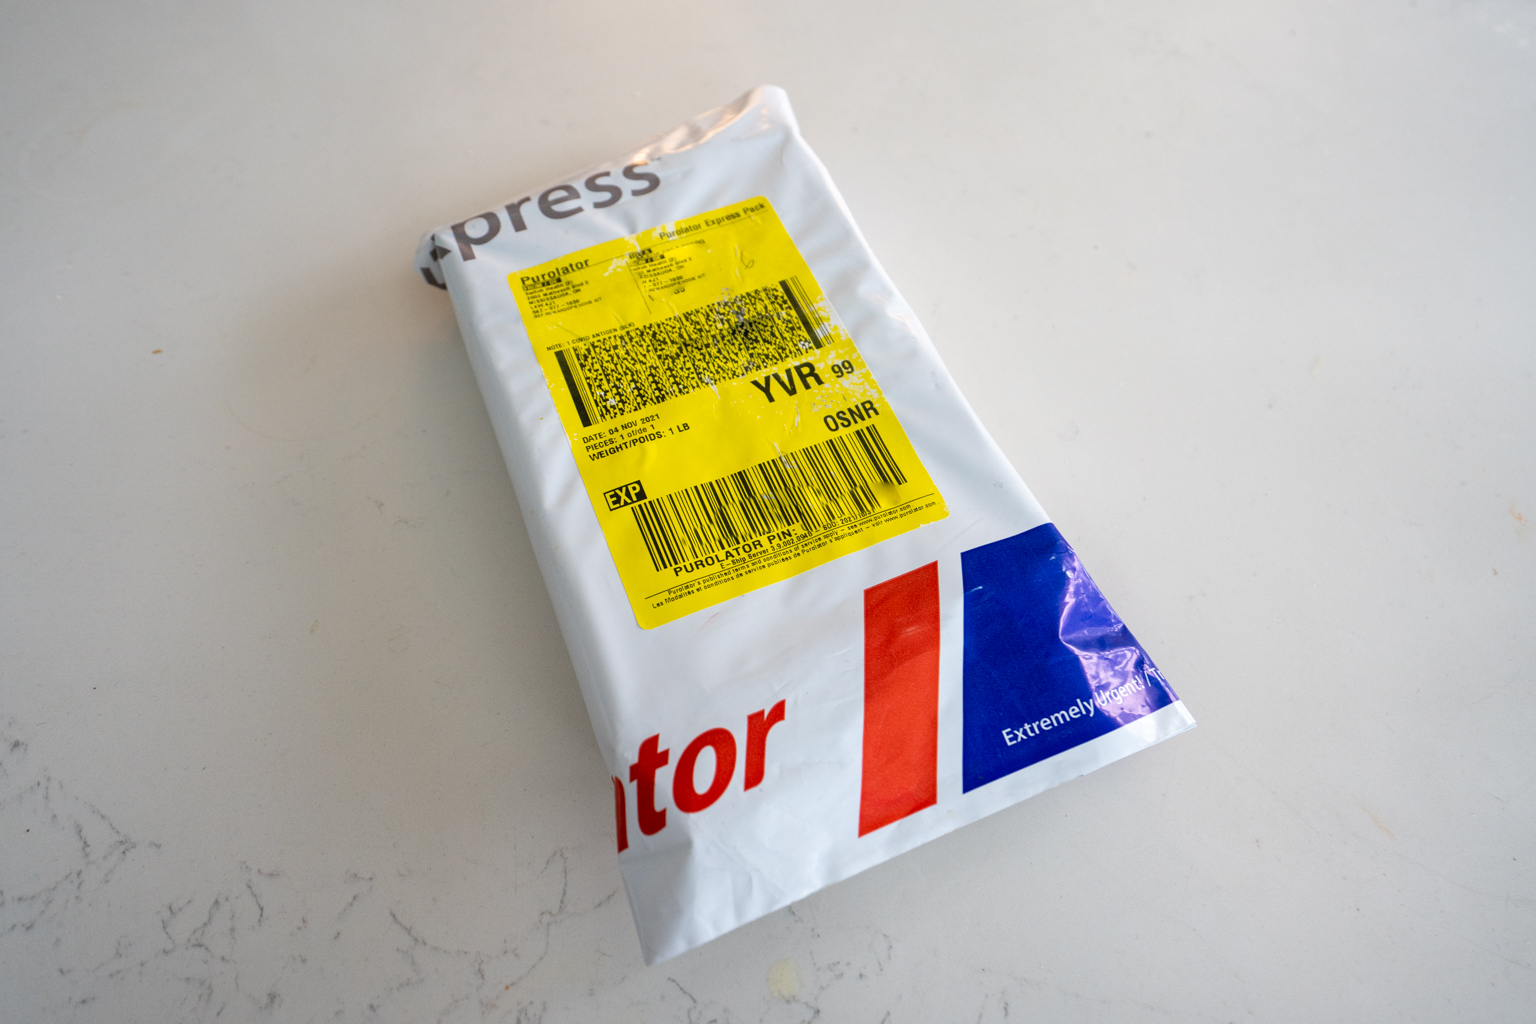
The purchase comes with express two-day shipping. In fact, our team member Josh had actually purchased this kit in advance of a Las Vegas trip he had taken a few weeks earlier, but the timing was a bit tight and he decided to use a backup testing option instead – and so he passed along the unused Switch Health Antigen Test Kit for me to use on this trip.
The antigen tests are smaller and lighter than the RT-LAMP test device, so each kit contains two tests.
This means that you’re really paying about $40 for a single test, which is on par with the cheapest antigen tests you’ll find in Canada (such as at Shoppers Drug Mart locations in Ontario and Alberta).
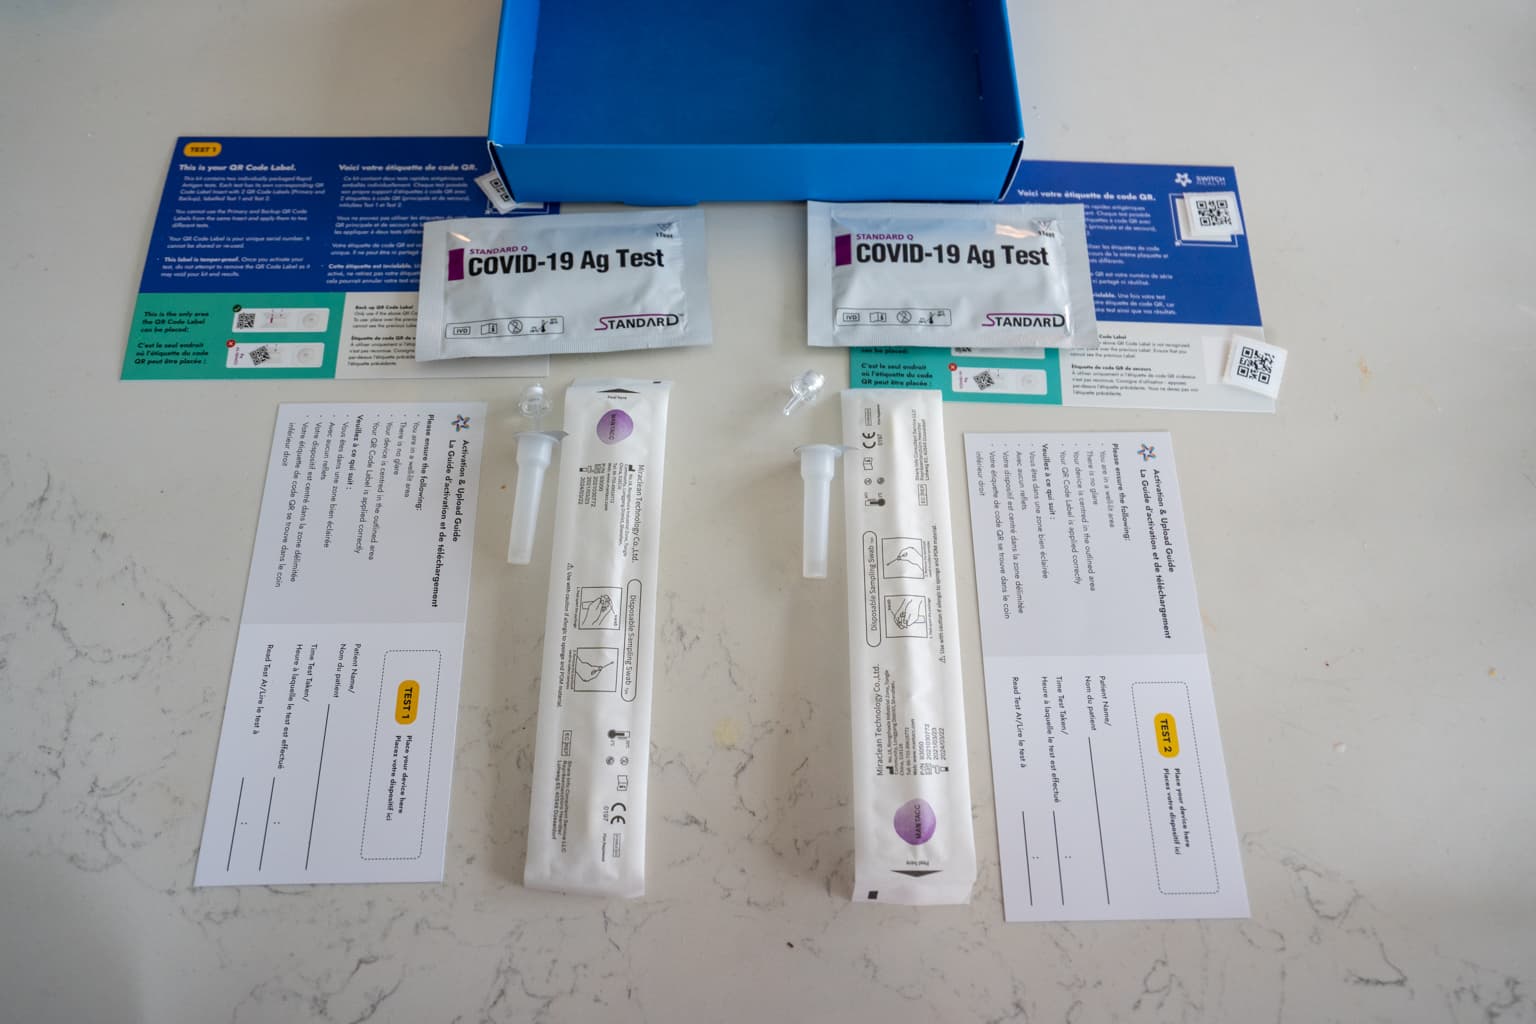
Unpacking the container, I discovered two sets of each of the following items inside:
- A nasal swab
- A test vial
- An eyedropper
- A test unit
- A card for placing the test unit
- Detailed instructions

Aside from the kit contents, you’ll also need:
- A mobile device with a camera
- An internet connection
- Valid government issued photo ID
- A clear, flat area for the testing device
- Clean tissues
- Hand sanitizer
- Around 20 minutes of your time
Taking the Switch Health Antigen Test
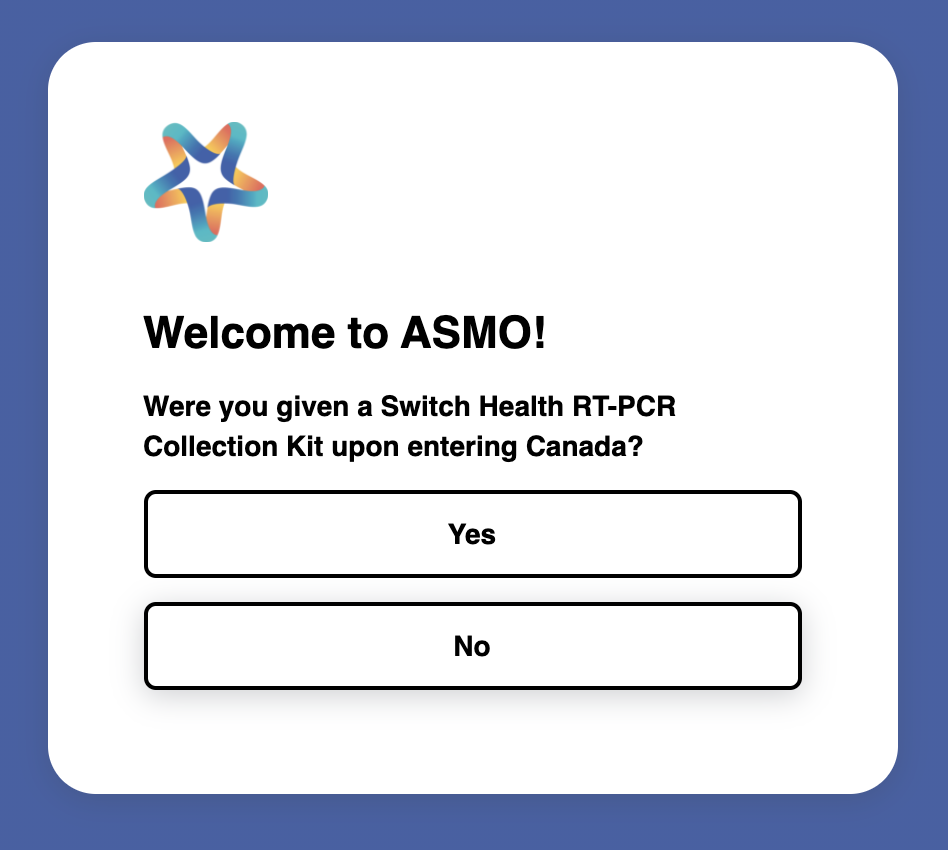
In order to take the test, you’ll need to have an account on the Switch Health ASMO portal to connect with the telehealth provider and get your results.
I had previously set up a Switch Health ASMO account when doing an RT-LAMP test before returning to Canada on a previous trip. Note that you’ll need to select “No” when asked about whether you’ve been given a self-testing kit by the CBSA – otherwise, you’ll be directed into the registration flow for on-arrival testing instead.
Otherwise, the registration process is fairly straightforward, if a little cumbersome in that you get asked for a mobile verification code every time you log in.
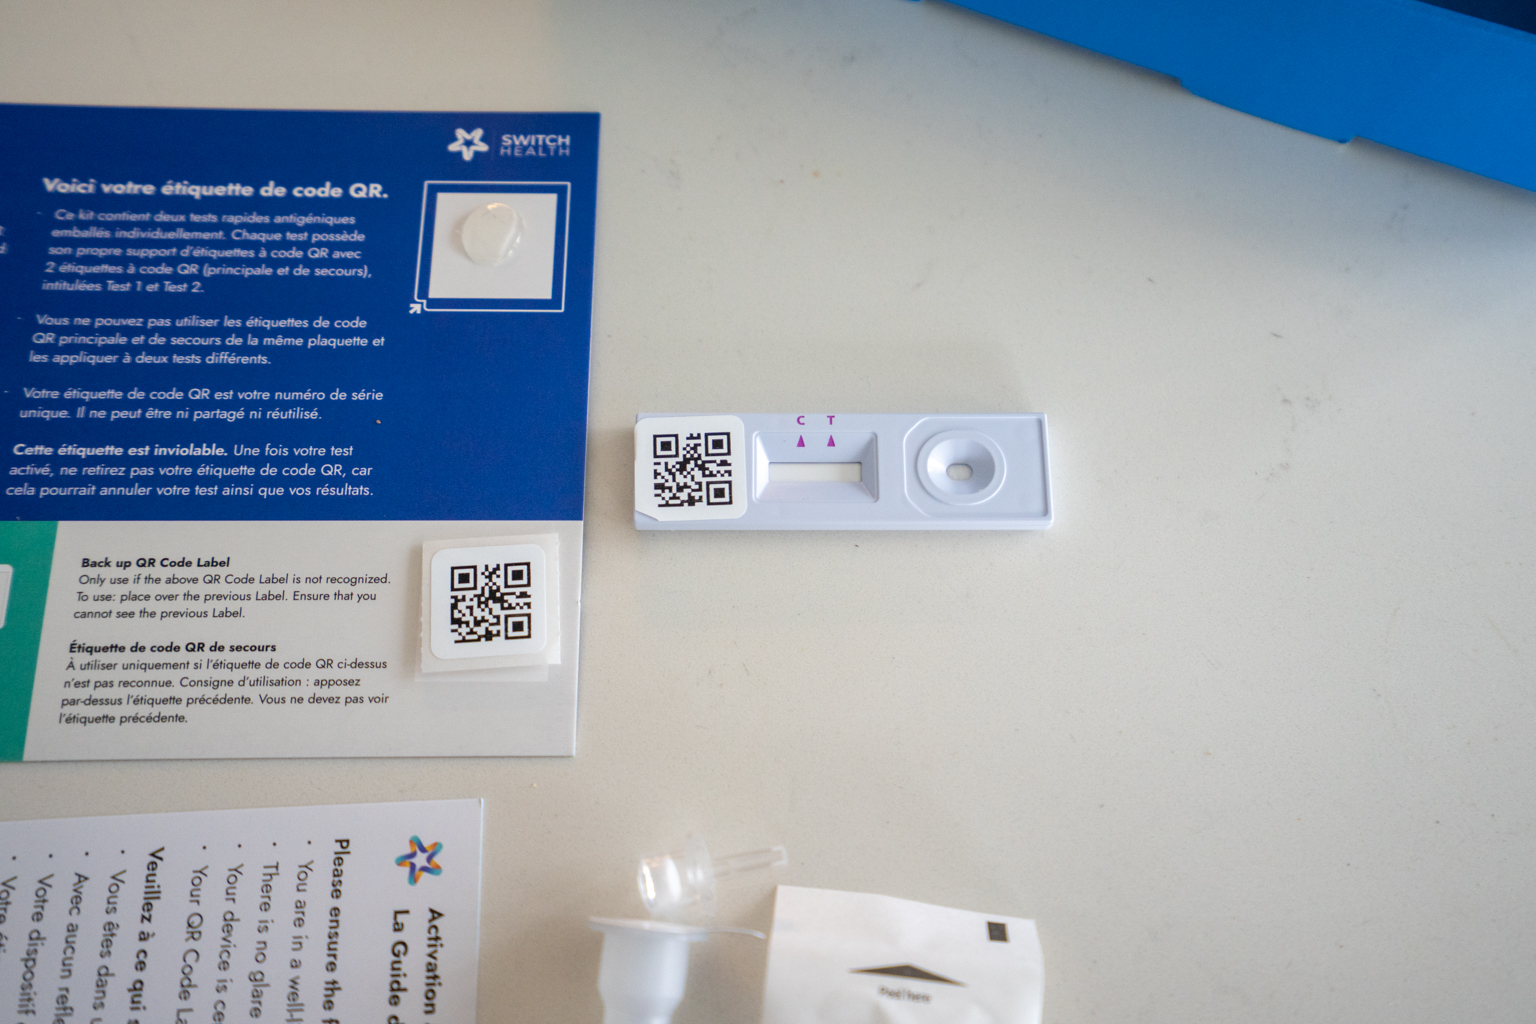
The next step is to remove the test kit from its sealed pouch and affix the unique QR code sticker, as shown below. Each test kit comes with a primary QR code and a backup QR code in case the primary one isn’t recognized.
Once that’s done, you can start the test via the Switch Health ASMO portal on your mobile device. You will be placed in a queue to connect with one of Switch Health’s telehealth professionals, who are available 24/7.
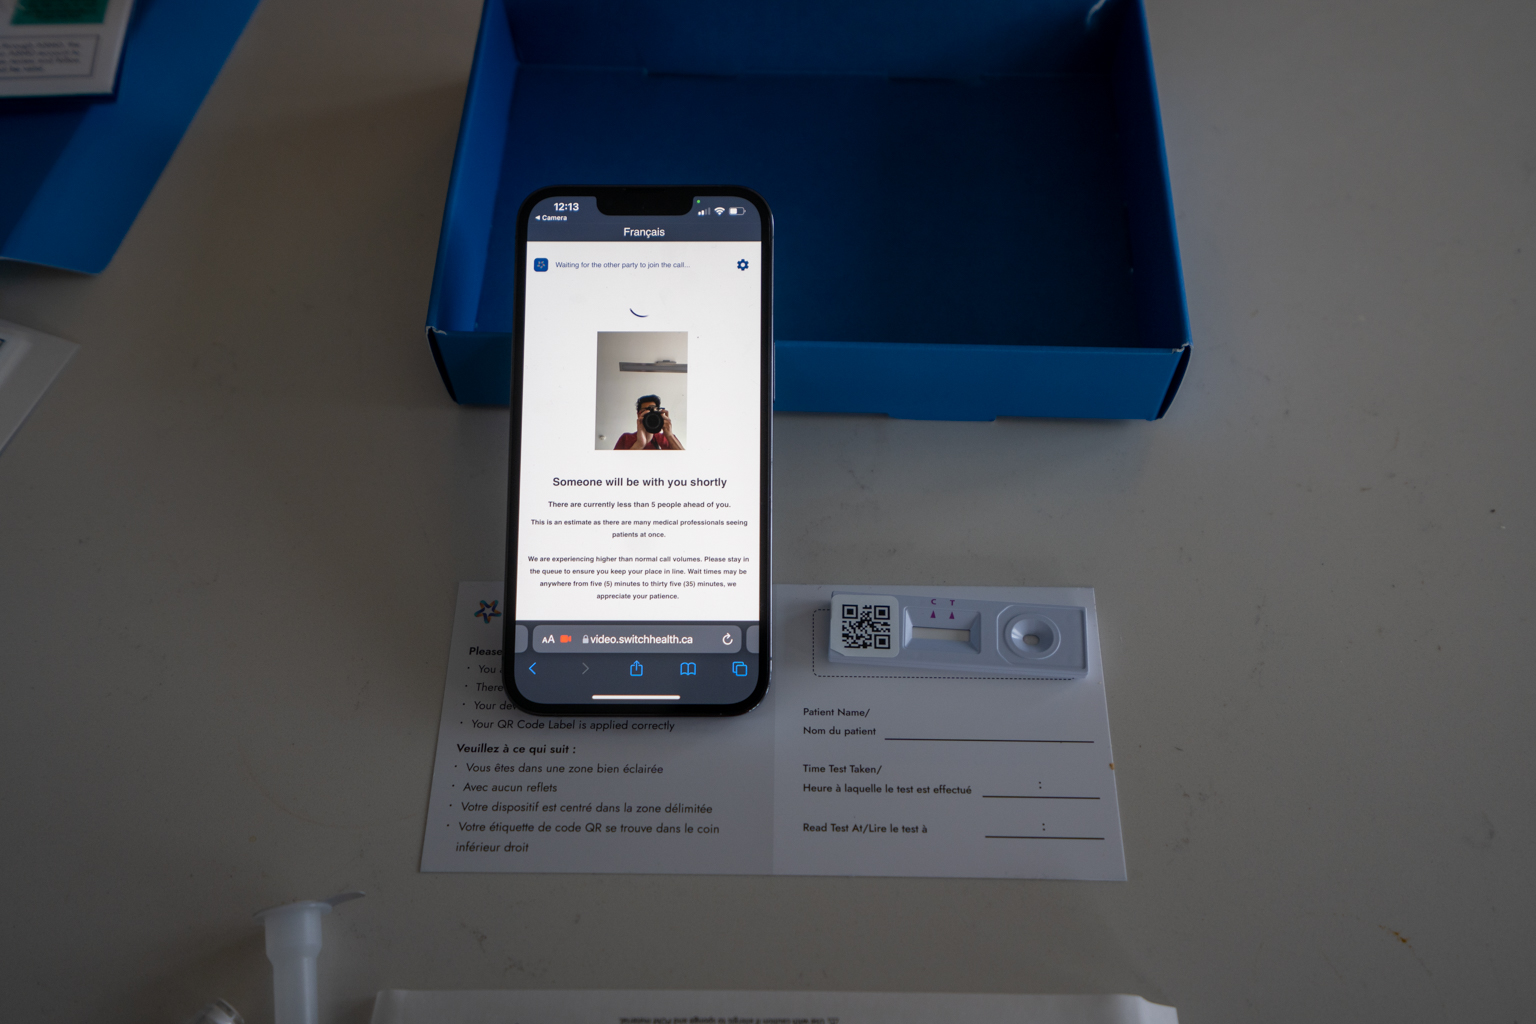
I waited about five minutes before I was connected to a friendly agent, who asked me to hold up my government-issued ID, verified that I had blown my nose and sanitized my hands, and then proceeded to guide me through the testing process.
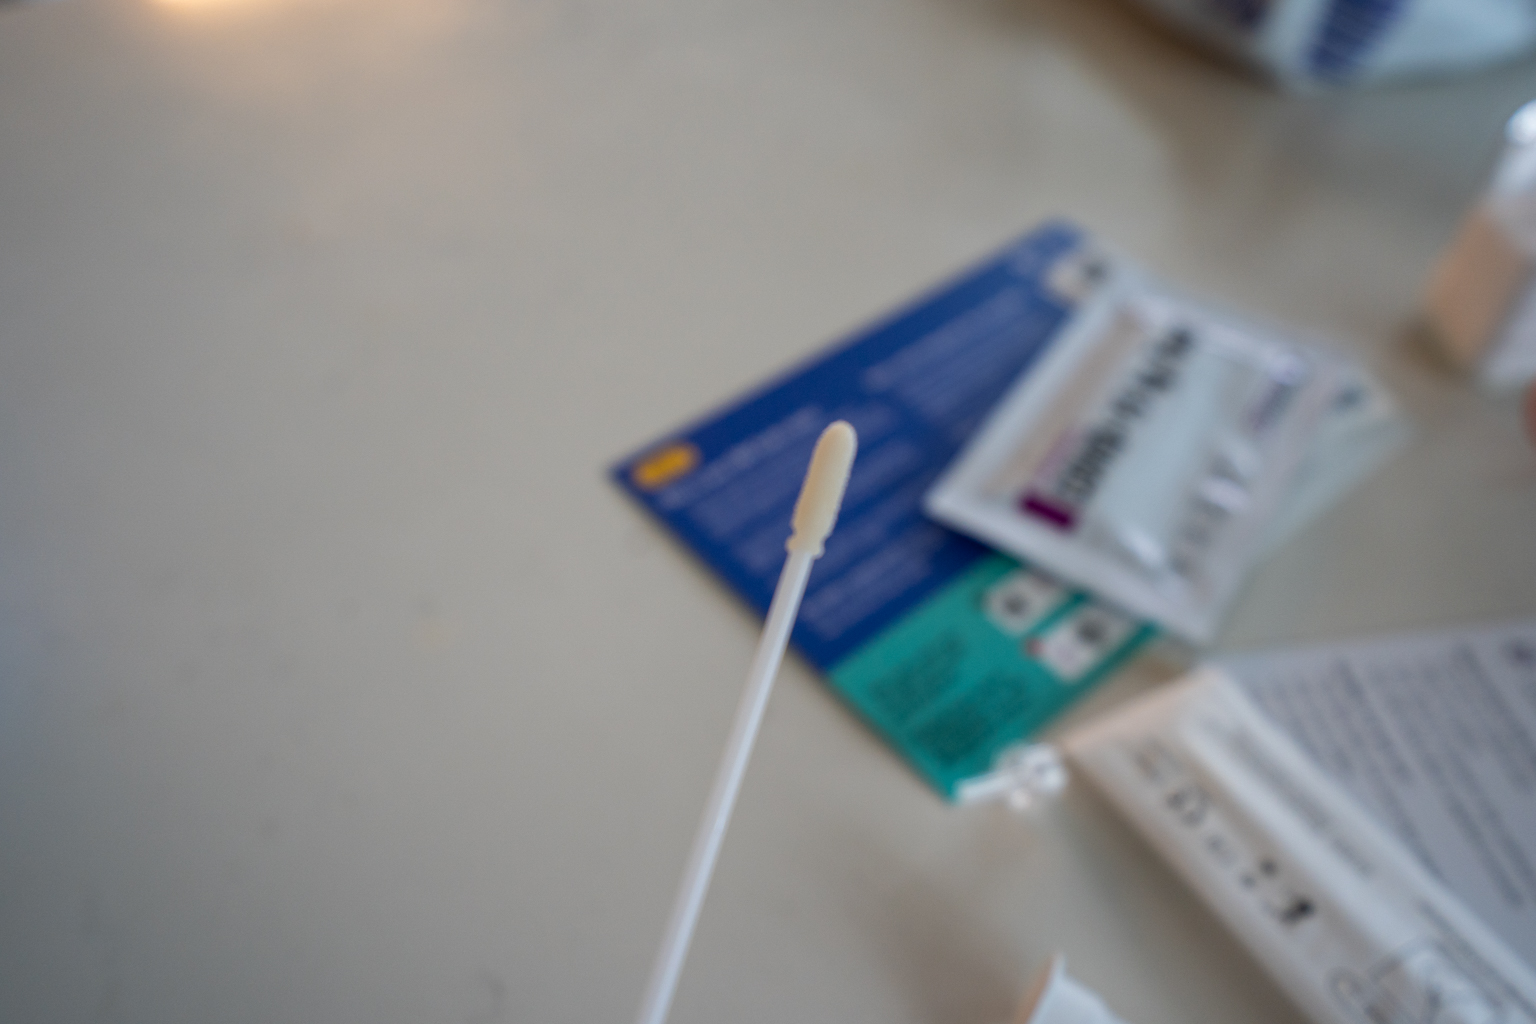
The first step is to withdraw the nasal swab from its packaging, and then use it to swap the insides of both nostrils for 15 seconds each.
Then, peel open the top of the test vial and swirl the swab in the testing fluid for another 15 seconds. After that, affix the eyedropper to the top of the vial…

…and drip four drops of the solution into the receptacle on the right side of the test kit.
At this point, you can end the call and wait for the test to run on its own.
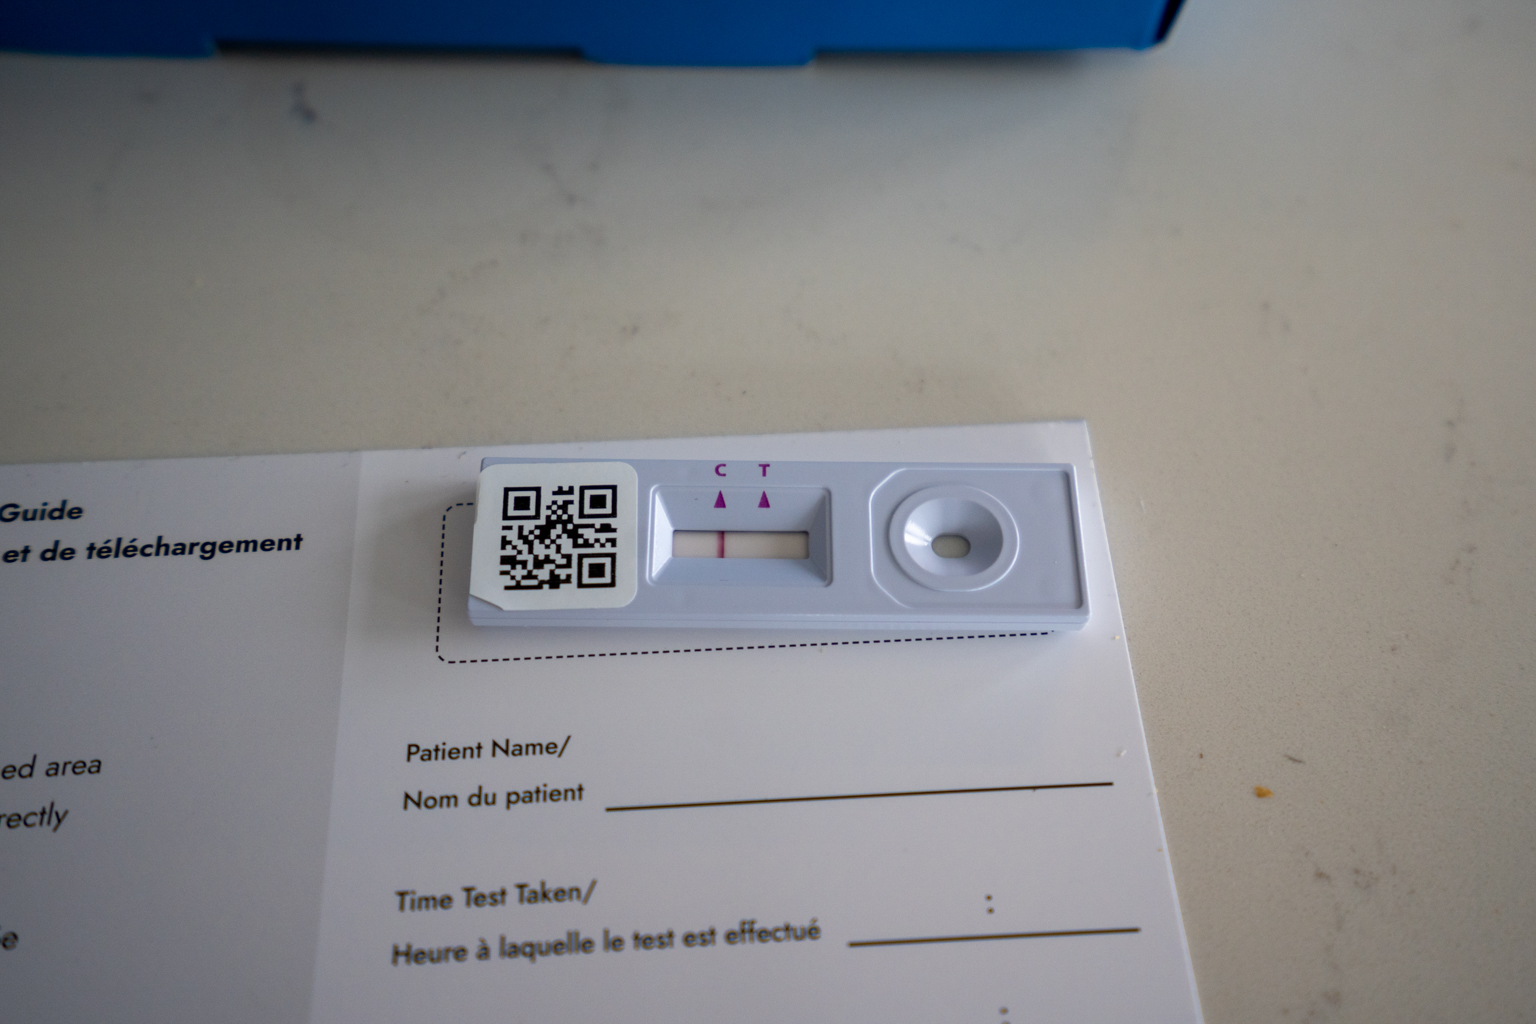
The test takes about 15 minutes to complete, and will show either one red line under “C” (for “control”), or two red lines under both “C” and “T” (for “test”) – corresponding to a negative or positive test result, respectively.
After 15 minutes, I took a photo of the test result and uploaded it to the Switch Health portal (where I was being actively prompted to do so).
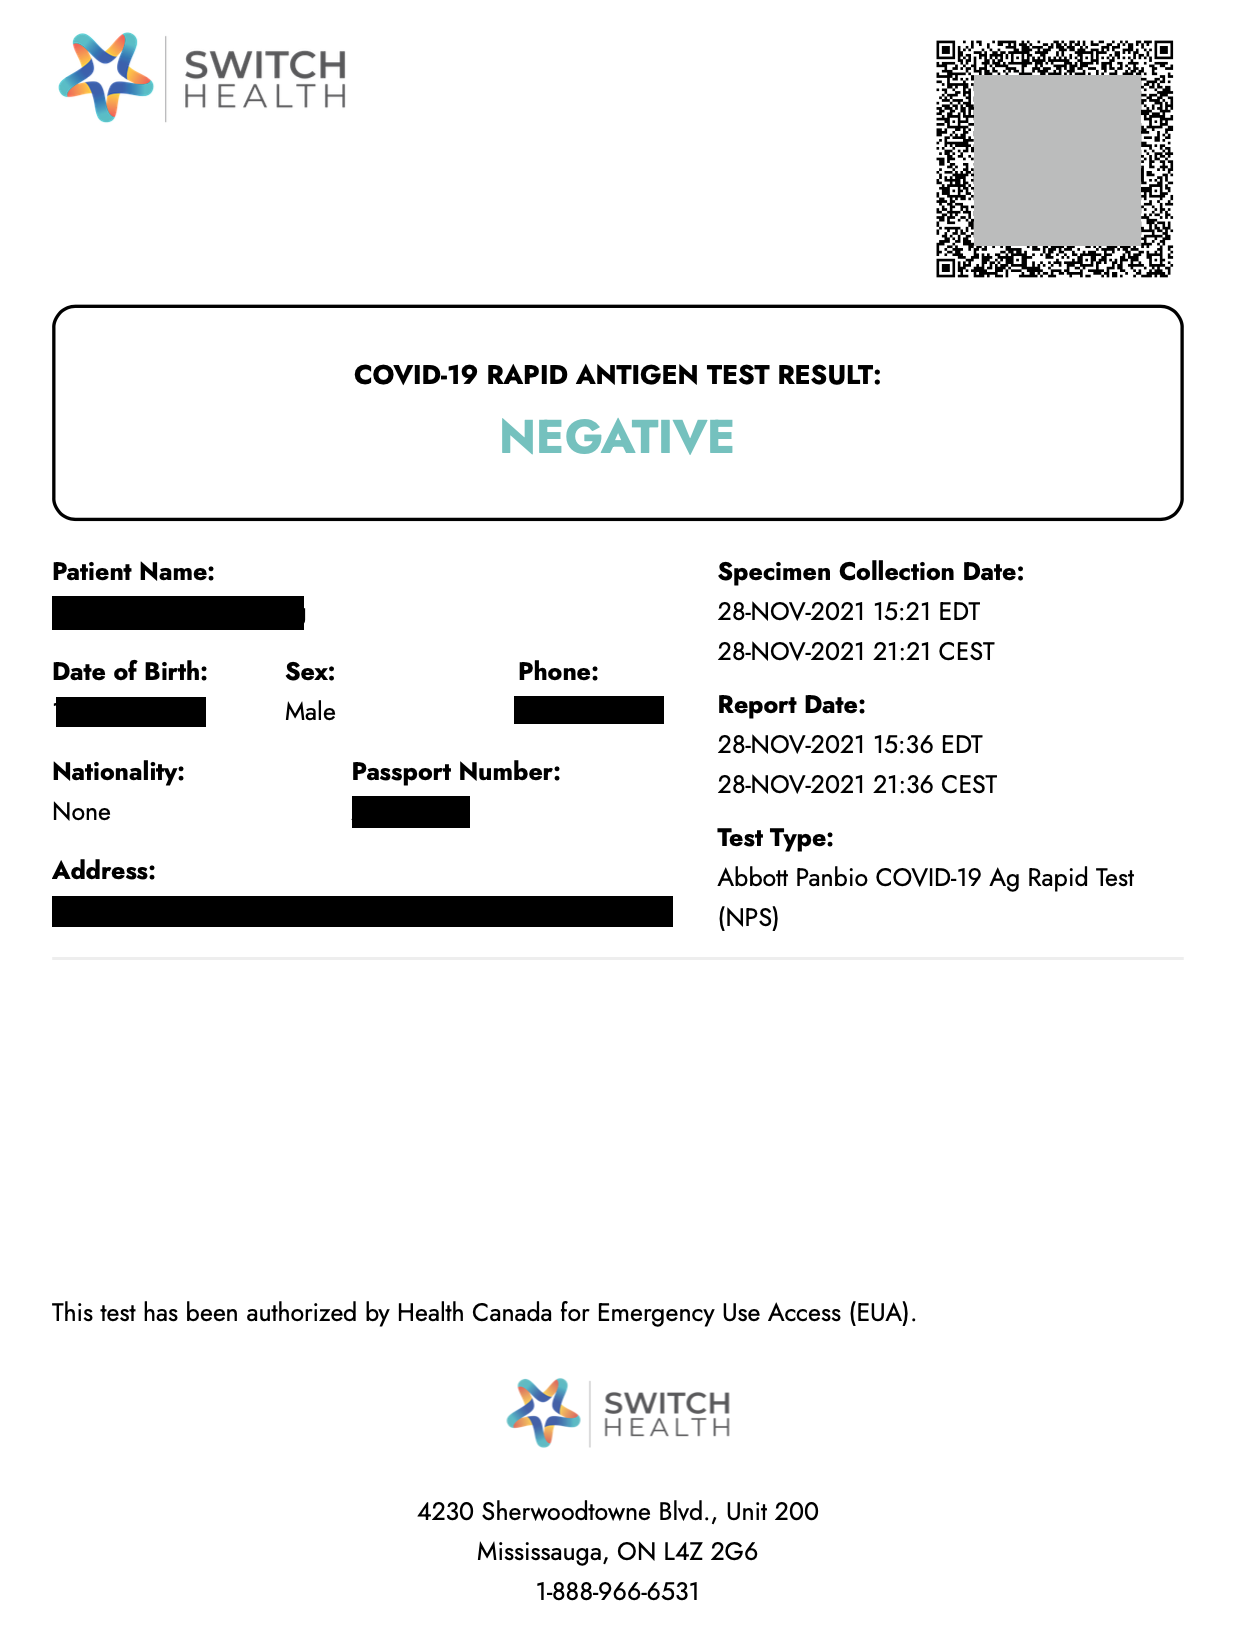
Then, another 15 minutes or so later, I received an email notifying me that my official PDF test results were ready for download.
Using the Switch Health Antigen Test Result
The PDF file displays your name, date of birth, nationality and passport information, as well as the specimen collection date and time.
 On this trip, my itinerary en route to the US was Vancouver–Toronto–New York. I was surprised that the gate agents at Vancouver asked to see my negative test results based on my final destination in the US, even though I’d only be boarding a domestic flight first.
After that, the test result was not asked for at any other point in the journey, given that the Vancouver agent had presumably indicated that my negative test had been properly checked.
(As an alternative, I could’ve also uploaded my negative test result to Air Canada directly as part of online check-in, although this feature is currently in beta development. Indeed, even though this had worked for me on a previous trip – and my test wasn’t checked at the gate as a result – the online upload tool continually gave me errors on this particular trip.)
Conclusion
The Switch Health Antigen Test Kit is an ideal solution for pre-travel testing for the United States, especially now that the testing window has been tightened from three days to one day before travel.
Previously, I had taken a few antigen tests at Vancouver International Airport for $129 plus tax, and Switch Health’s price point of $79 plus tax for two test kits beats that handily.
With two-day express shipping, ample stock, and a simple testing process taking no more than 15 minutes to complete, I’ll certainly be using these antigen self-testing kits in advance of my cross-border trips for the foreseeable future.


First-year value
$336
Monthly fee: $15.99
• Earn 1,250 points per month upon spending $750 per month for 12 months


Member Discussion