On June 21, 2021, the Government of Canada announced the relaxation of quarantine requirements upon return for fully vaccinated Canadians.
This opened up many travel possibilities after a long wait, but carried with it some onerous requirements, including producing your vaccination records, a negative COVID-19 test 72 prior to travel, another on-arrival test, and an ArriveCAN receipt.
The ArriveCAN app, available on both iOS and Android, is now the de facto method for Canadians to demonstrate their eligibility to bypass the 14-day quarantine upon returning to Canada.
As you’ll see, the Government of Canada sure likes to use the ArriveCAN app to cover off everything single thing a customs agent could possibly need to process your re-entry into Canada.
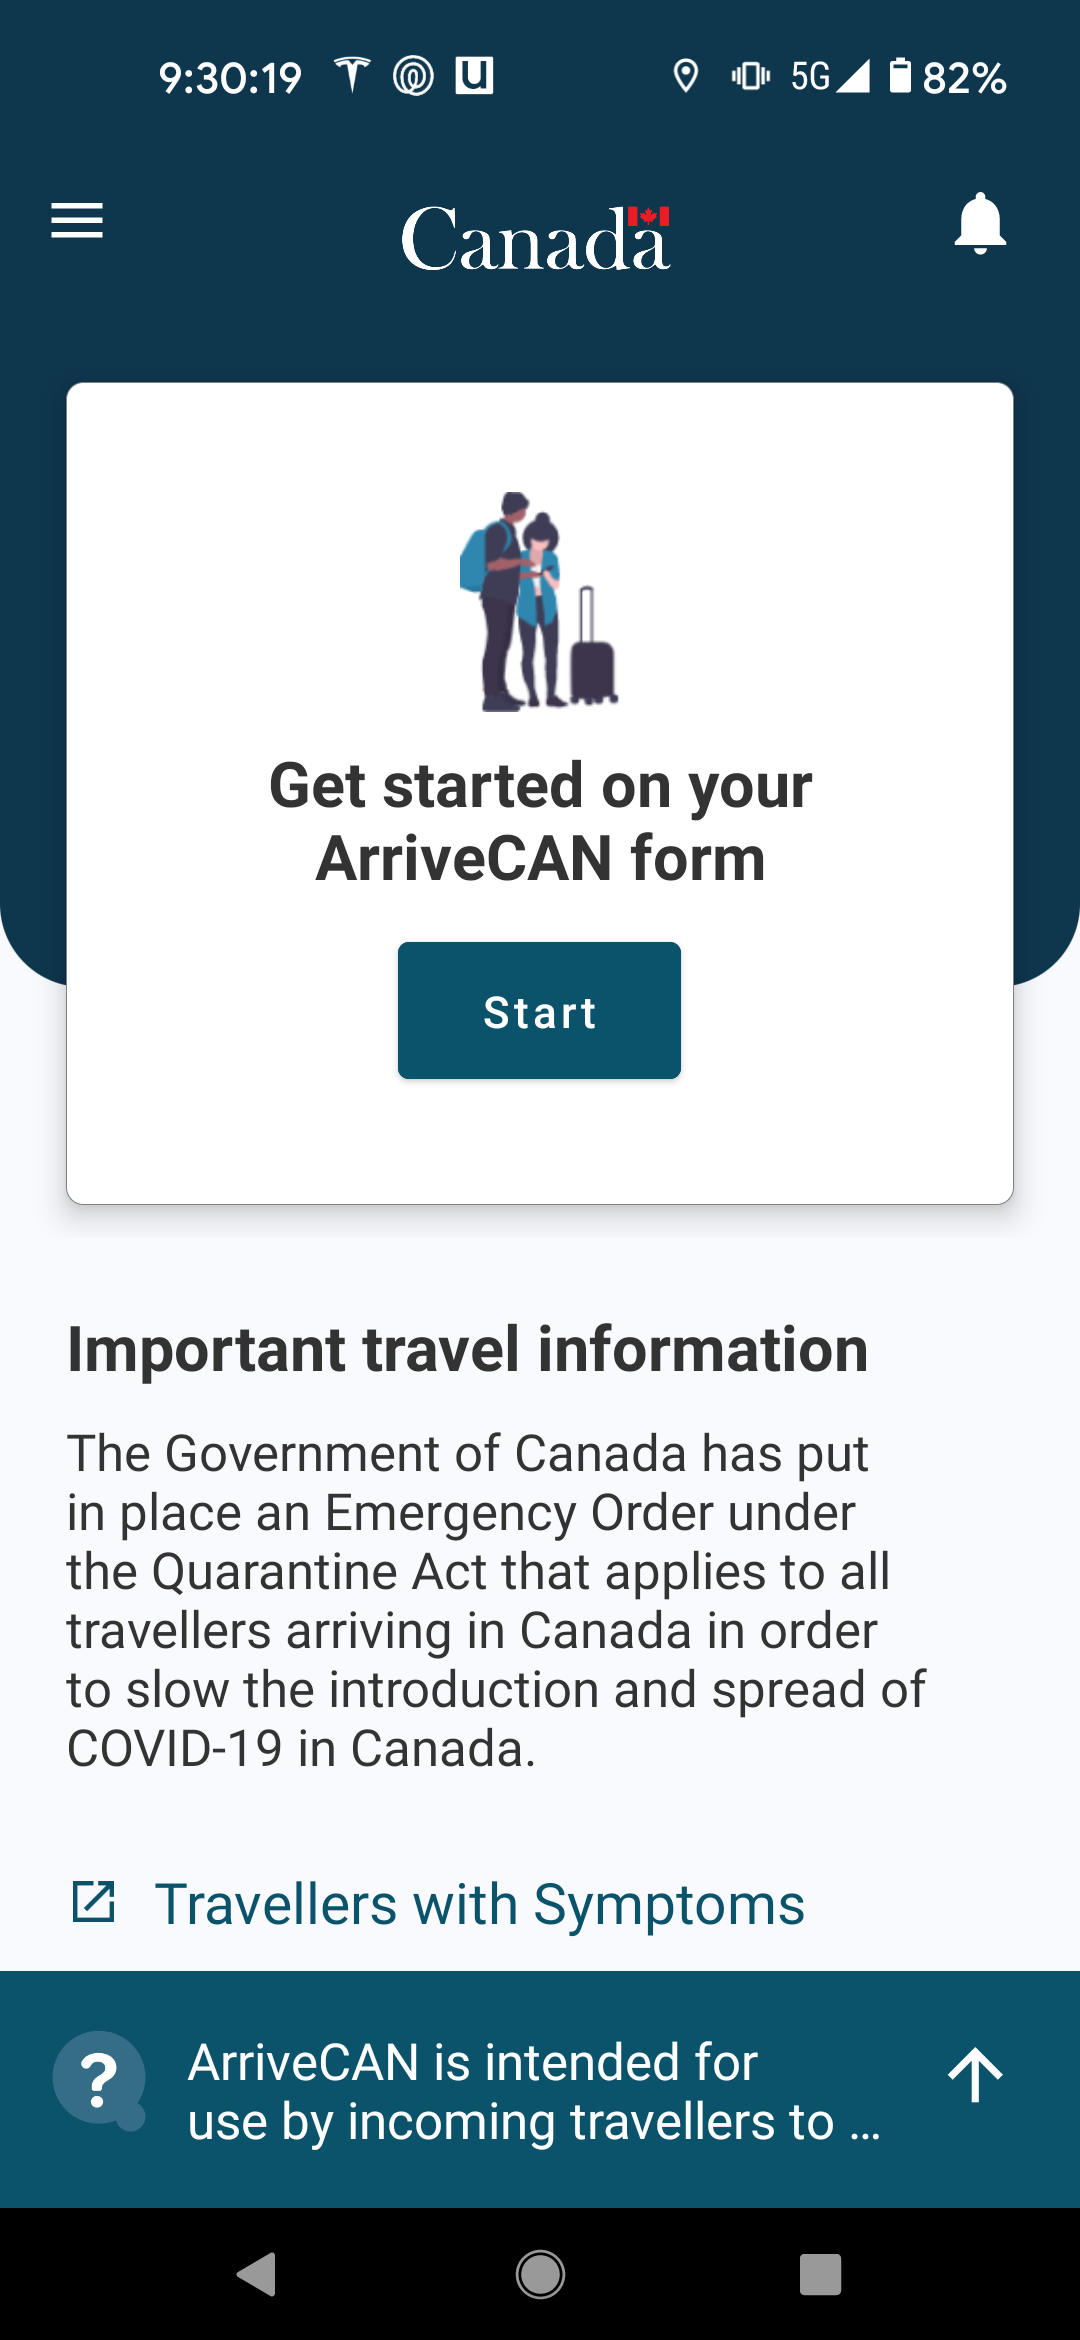
In this article, we’ll walk through the ArriveCAN process with a series of screenshots, and I’ll add commentary when necessary to provide clarity.
Identification
The first part of the process is to identify you and your travelling party, including your entry details. You will be required to provide government-issued identification, so keep your passport or NEXUS card handy for this step.
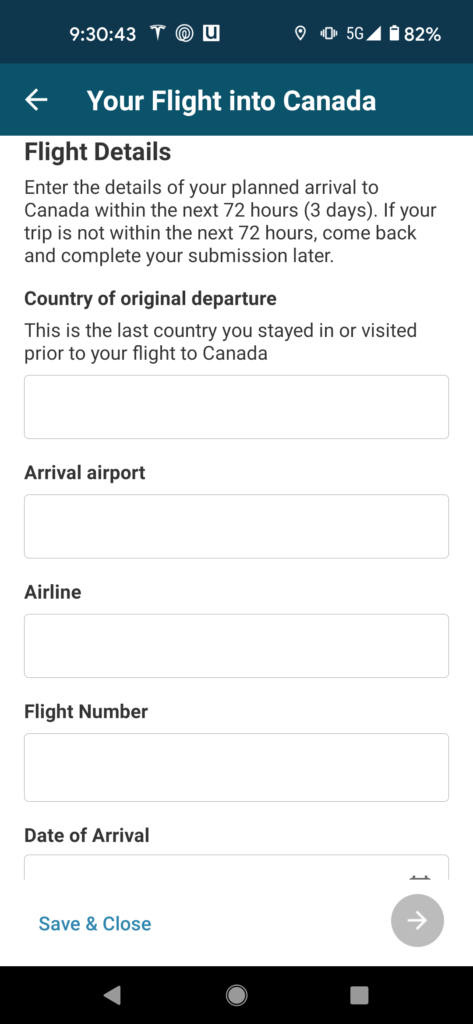
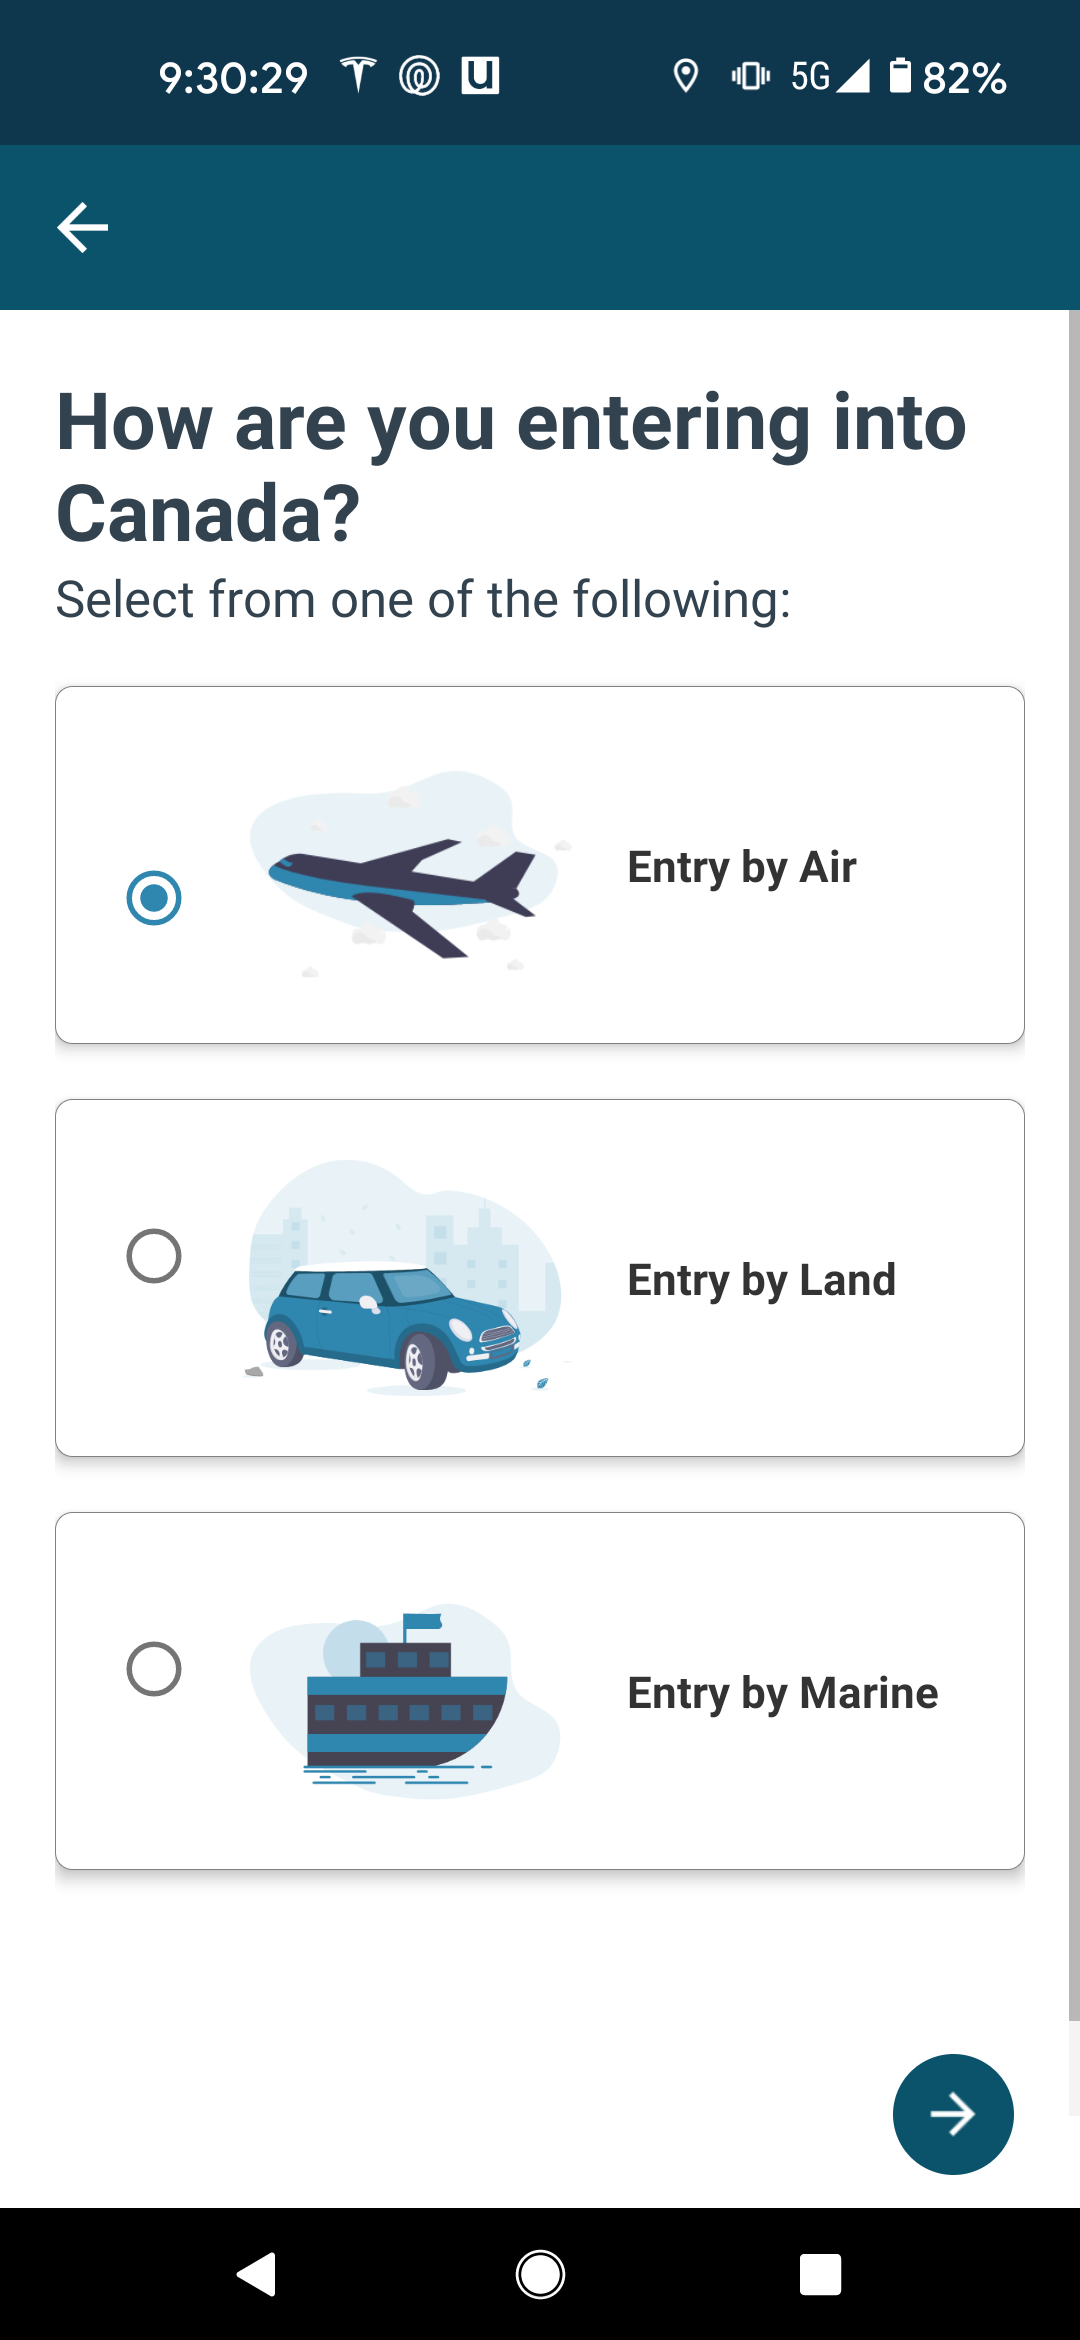
For the most part, I would expect most Prince of Travel readers to be re-entering Canada by air. In doing so, the Government of Canada requires you to enter your flight details.
The app will check your flight details to ensure that you are only completing the form if your flight is departing within 72 hours. If you are further out than that, you cannot complete your ArriveCAN check-in.
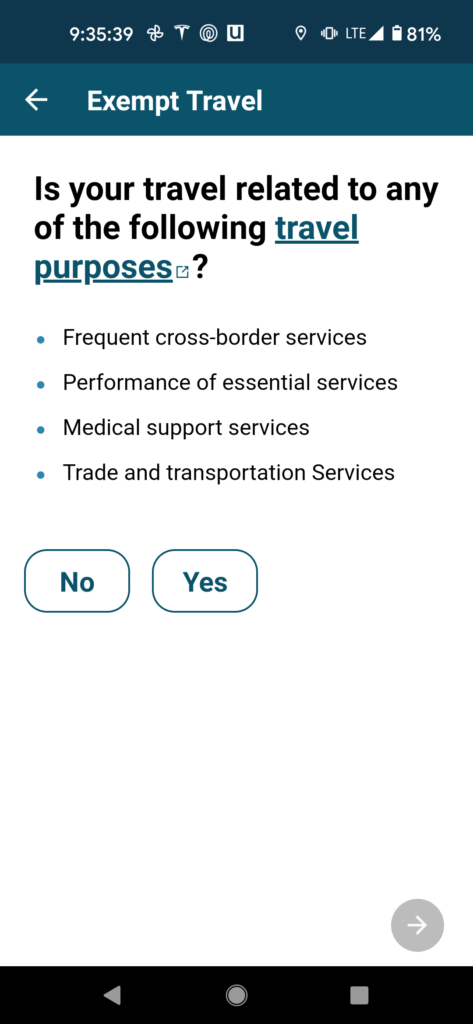
If you are exempt from testing and quarantine as a result of travelling for an essential purpose, you’ll still need to note it in the app:
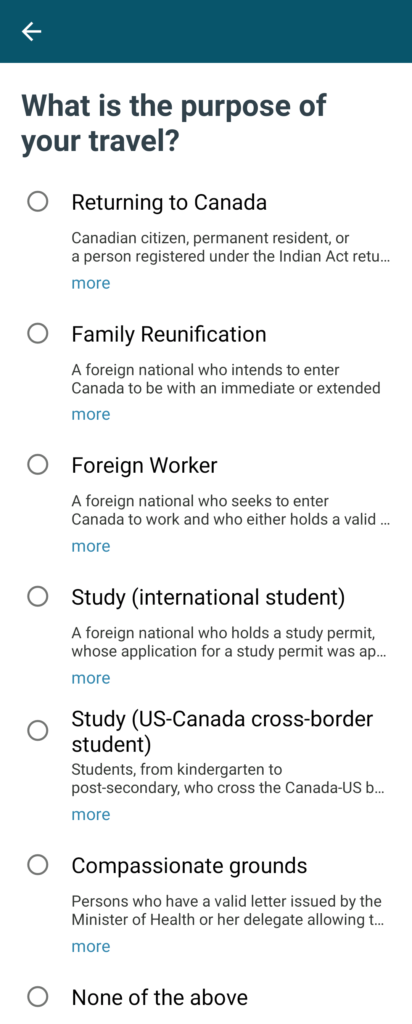
The Government of Canada needs to understand the purpose of your re-entry into Canada. For most, the answer will be the first option, Returning to Canada.
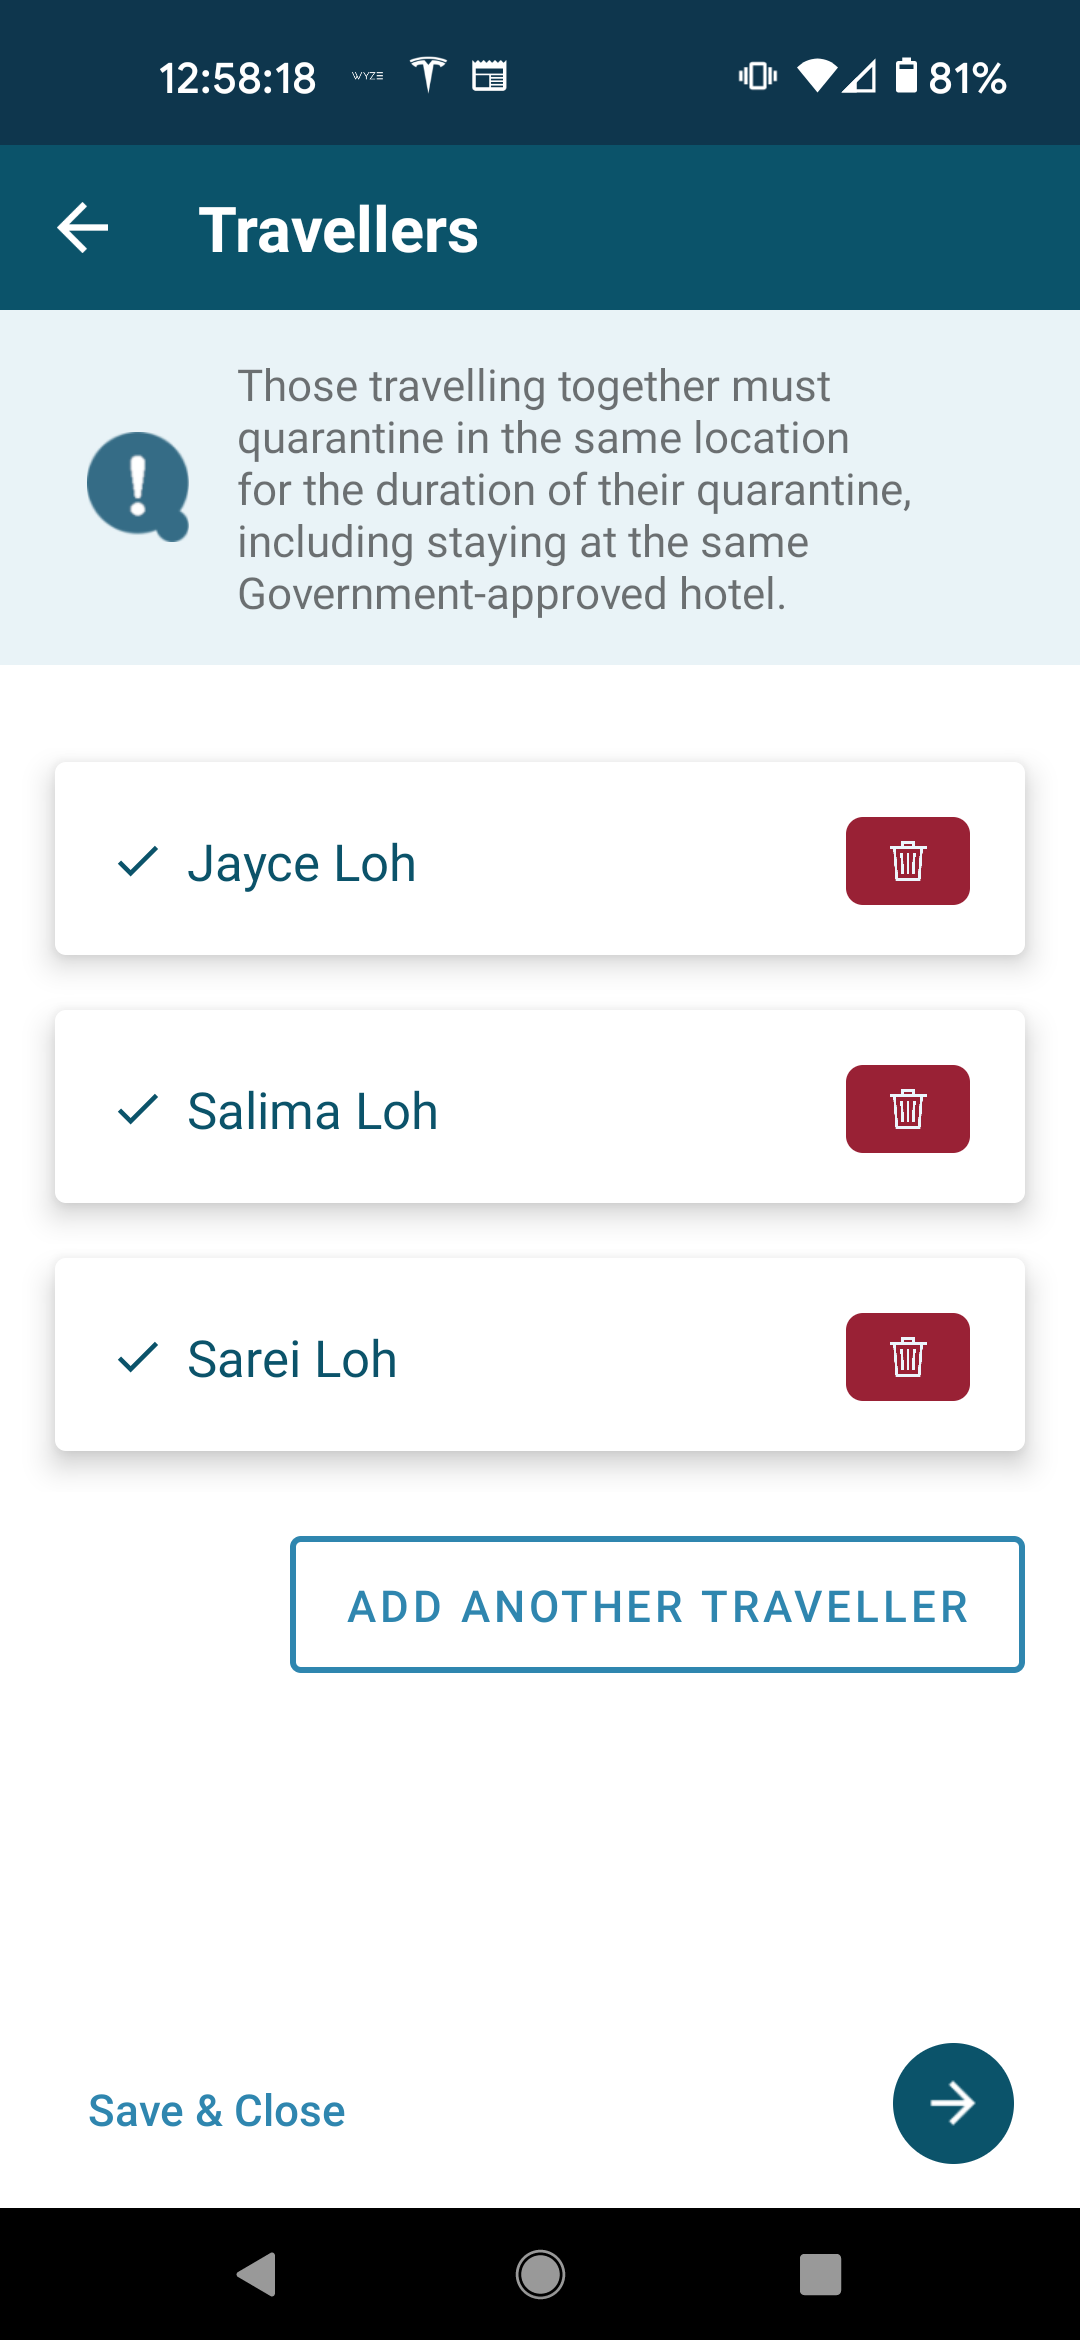
You will now begin the process of identifying each person in your travel party.
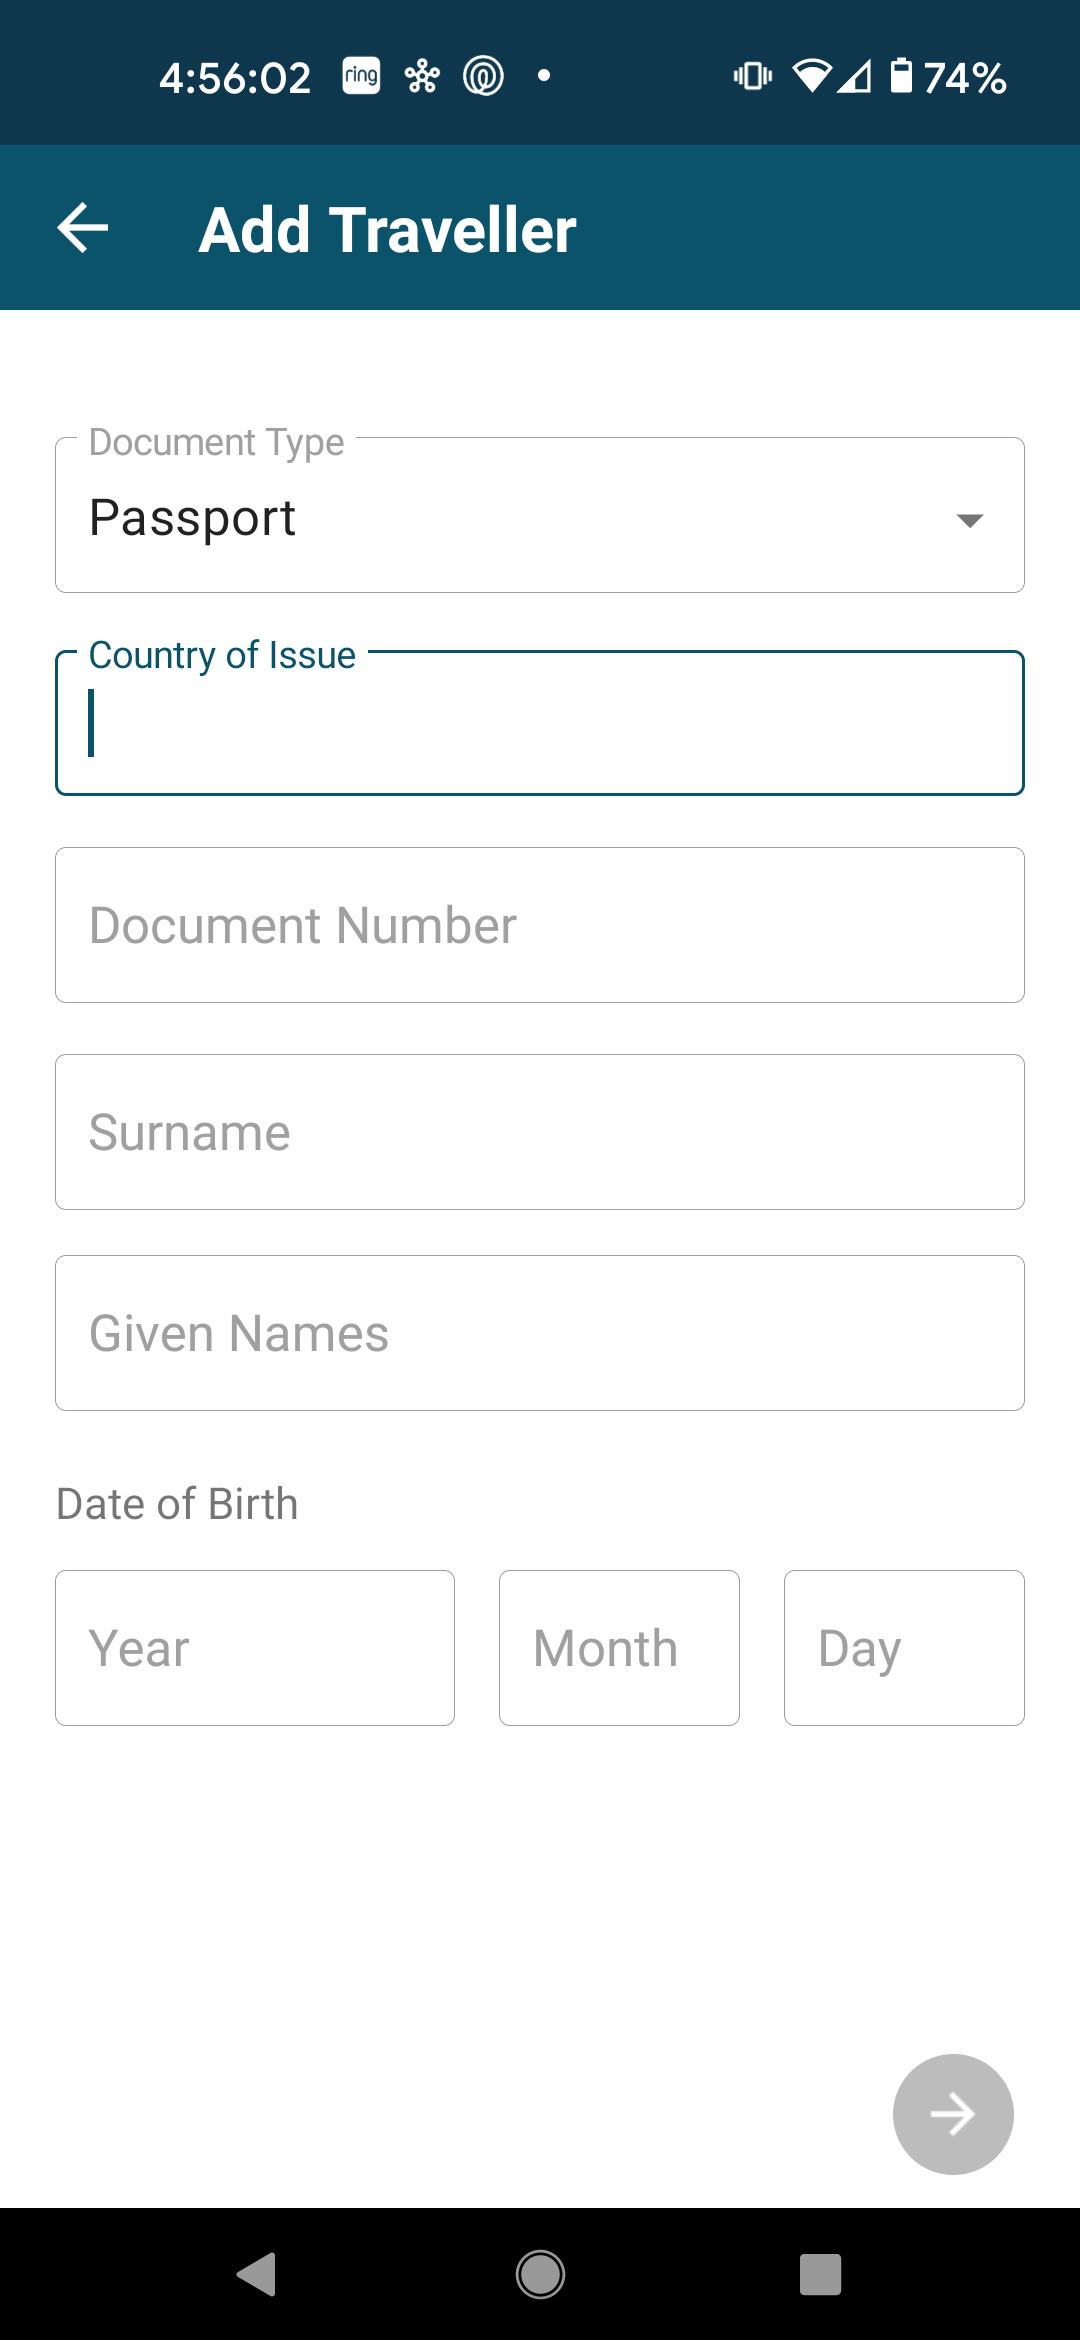
The first step is to identify which piece of identification you would like to use for re-entry. We used our passports as our form of identification.
When you choose one of these options, your camera is automatically turned on to scan your chosen document. If you do not want to scan the document and would rather enter the information manually, hit the back button and you will be given the option to manually enter your information.
I chose the manual option so that I could show you the step-by-step and so as to not reveal my passport information to the world.
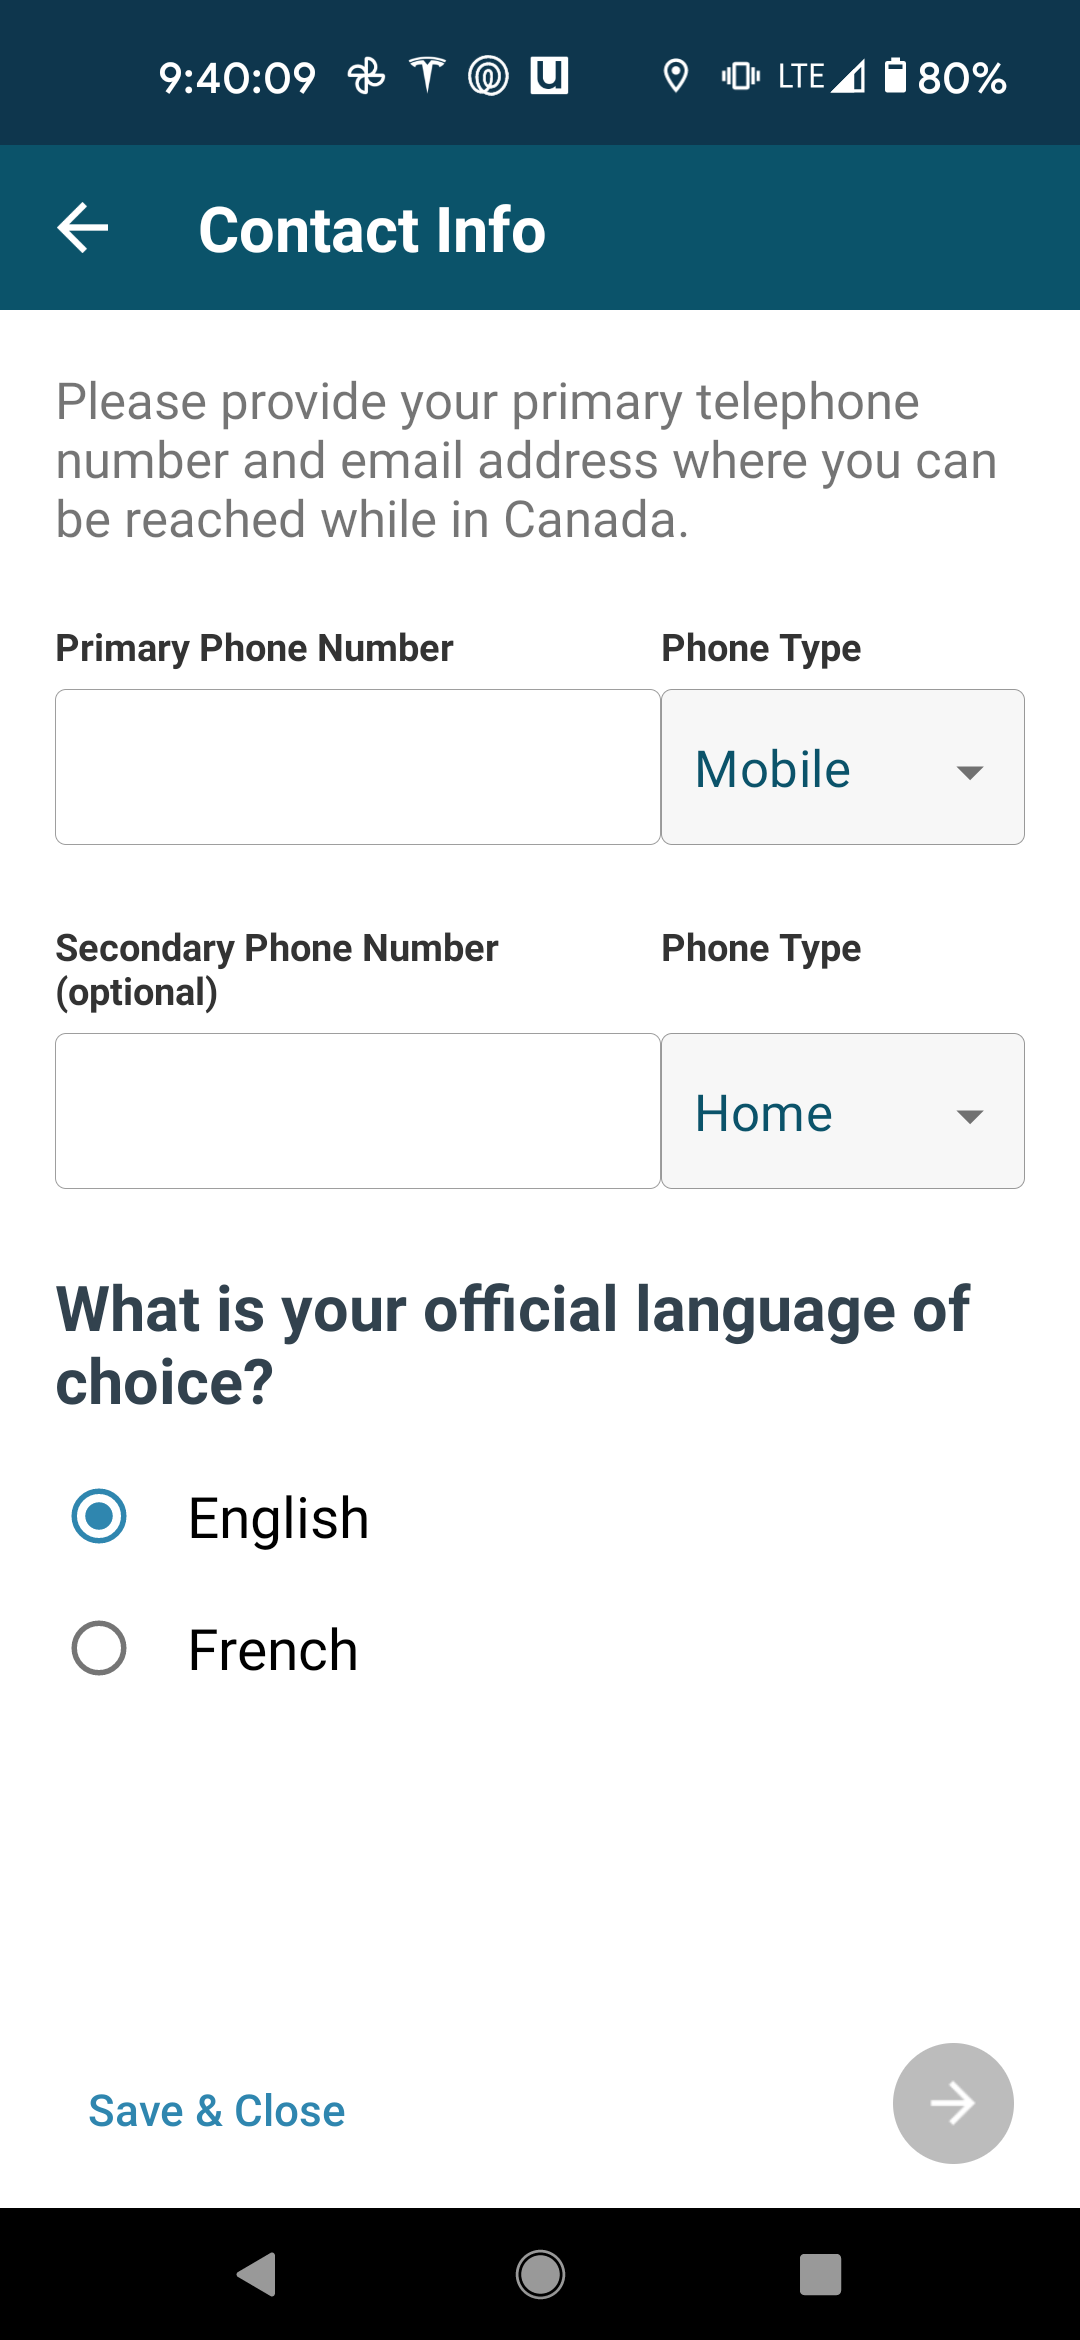
Once you verify the travel documents for your entire party, you are also asked to provide contact information for everyone.
Proof of Vaccination
For those that have been fully vaccinated – meaning two shots of an approved vaccine at least 14 days prior to entry – you will need to submit your vaccine records through the ArriveCAN app.
At the time of writing, there is inconsistency in how to actually prove your vaccination records. For our family, we had a blend of members receiving their vaccine through official government-run clinics as well as drug store vaccinations.
We simply provided the paperwork the clinics had given to us. It has been suggested that you bring the paper copy of your vaccination when you travel internationally, which is what we did, but I would strongly advise you to scan all your vaccination documentation to make it easier for your future travel. We scan everything and keep it in a cloud storage drive that can be easily accessible in the event we lose the physical copy of our records.
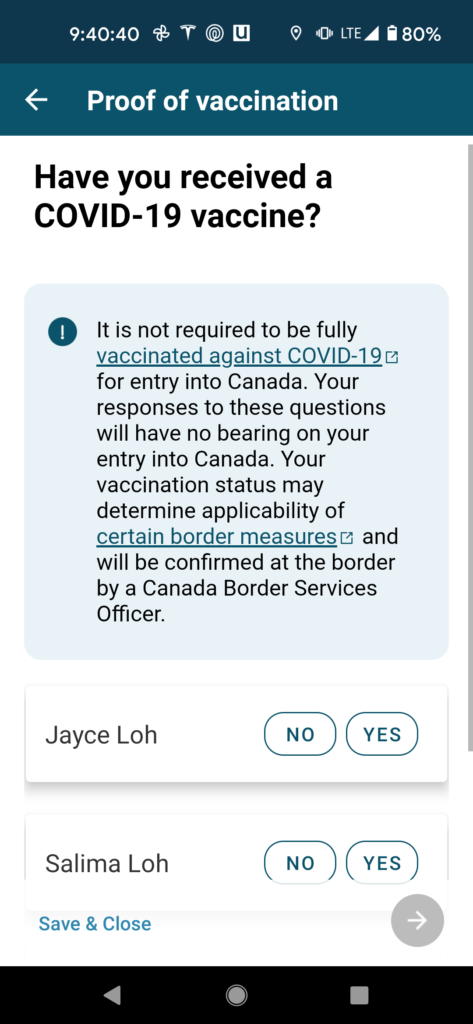
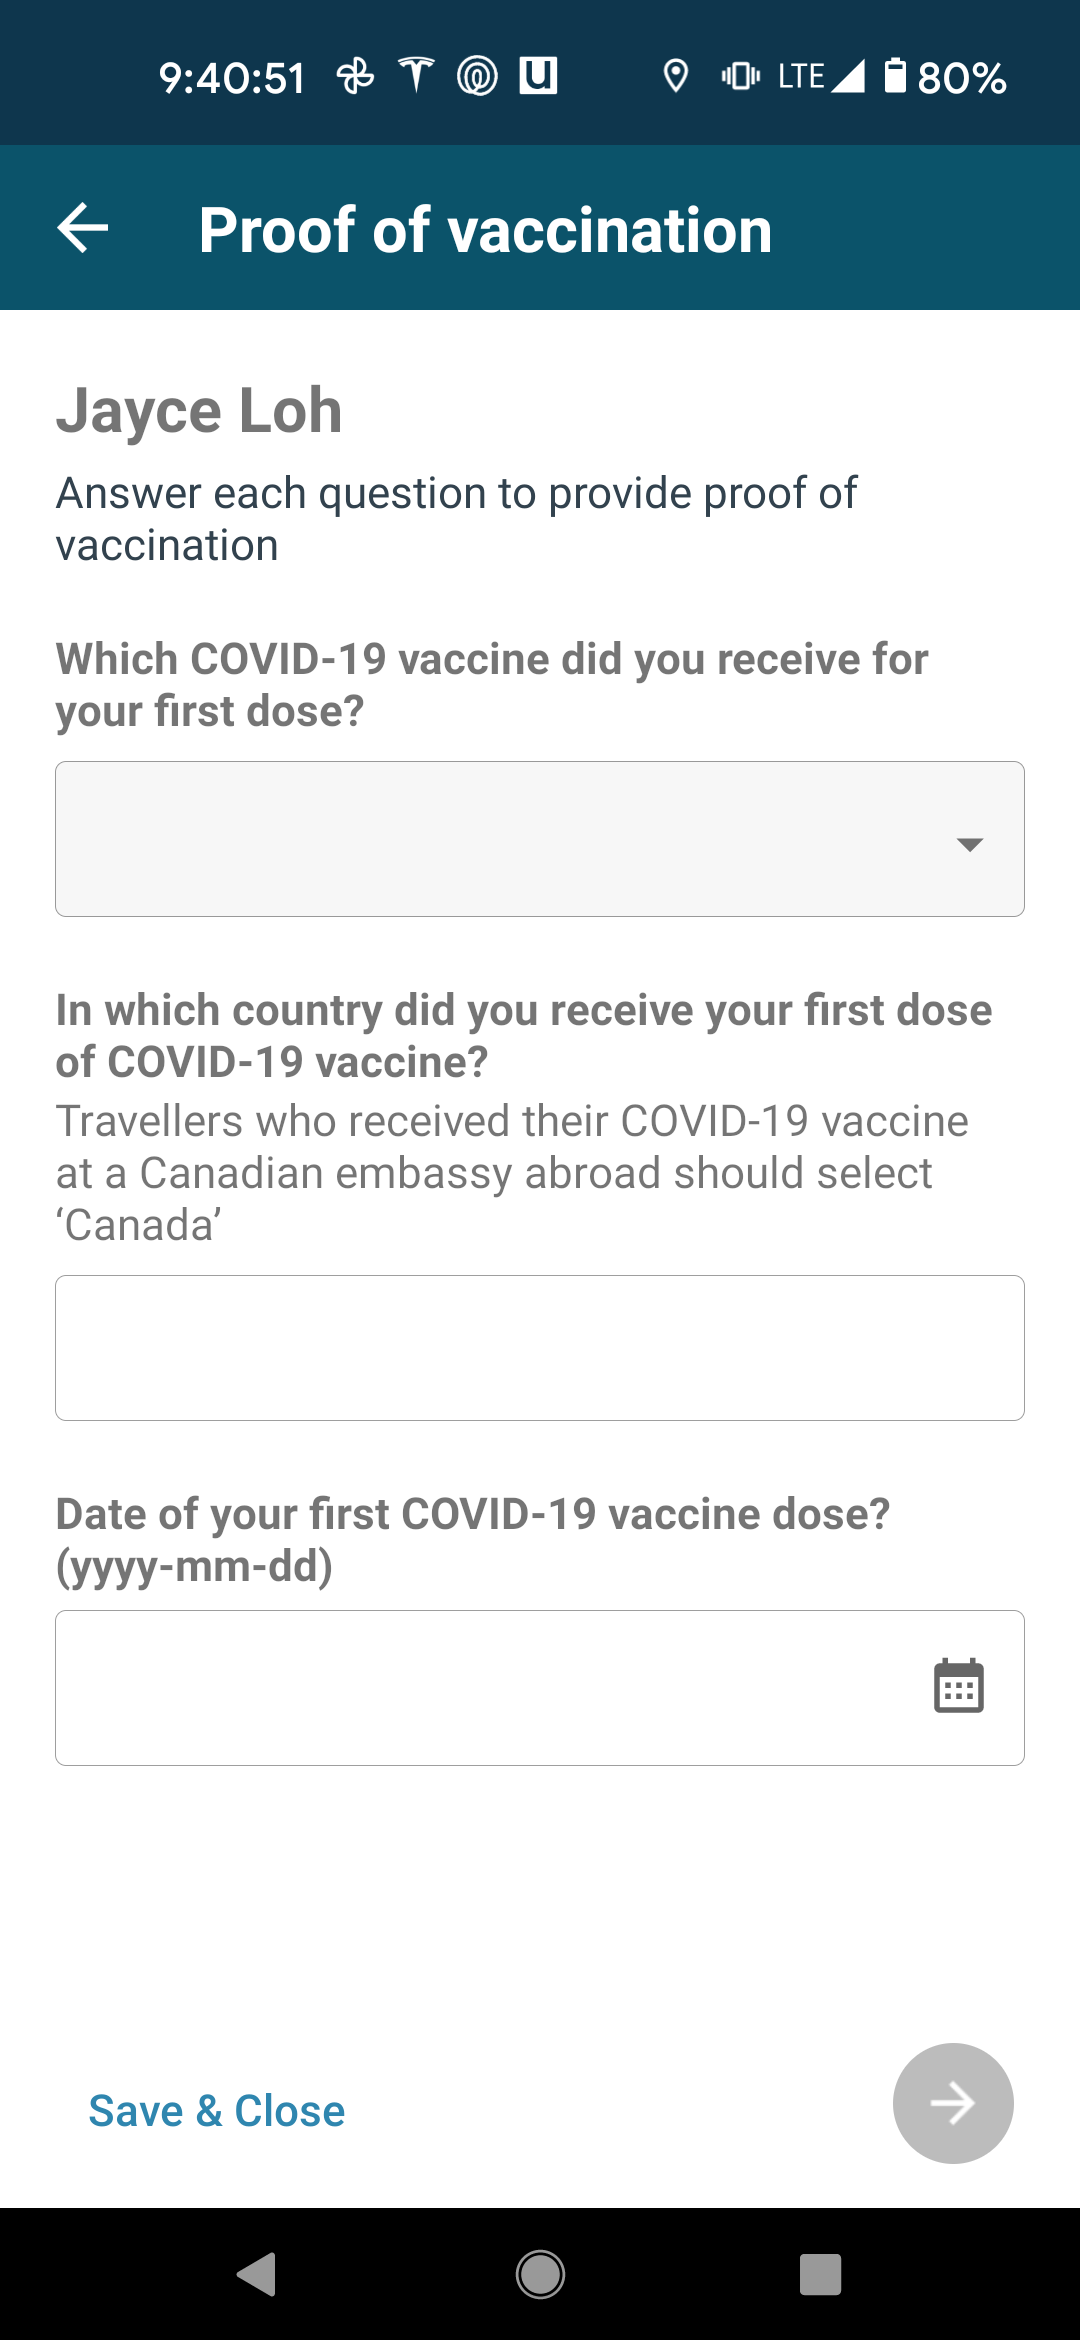
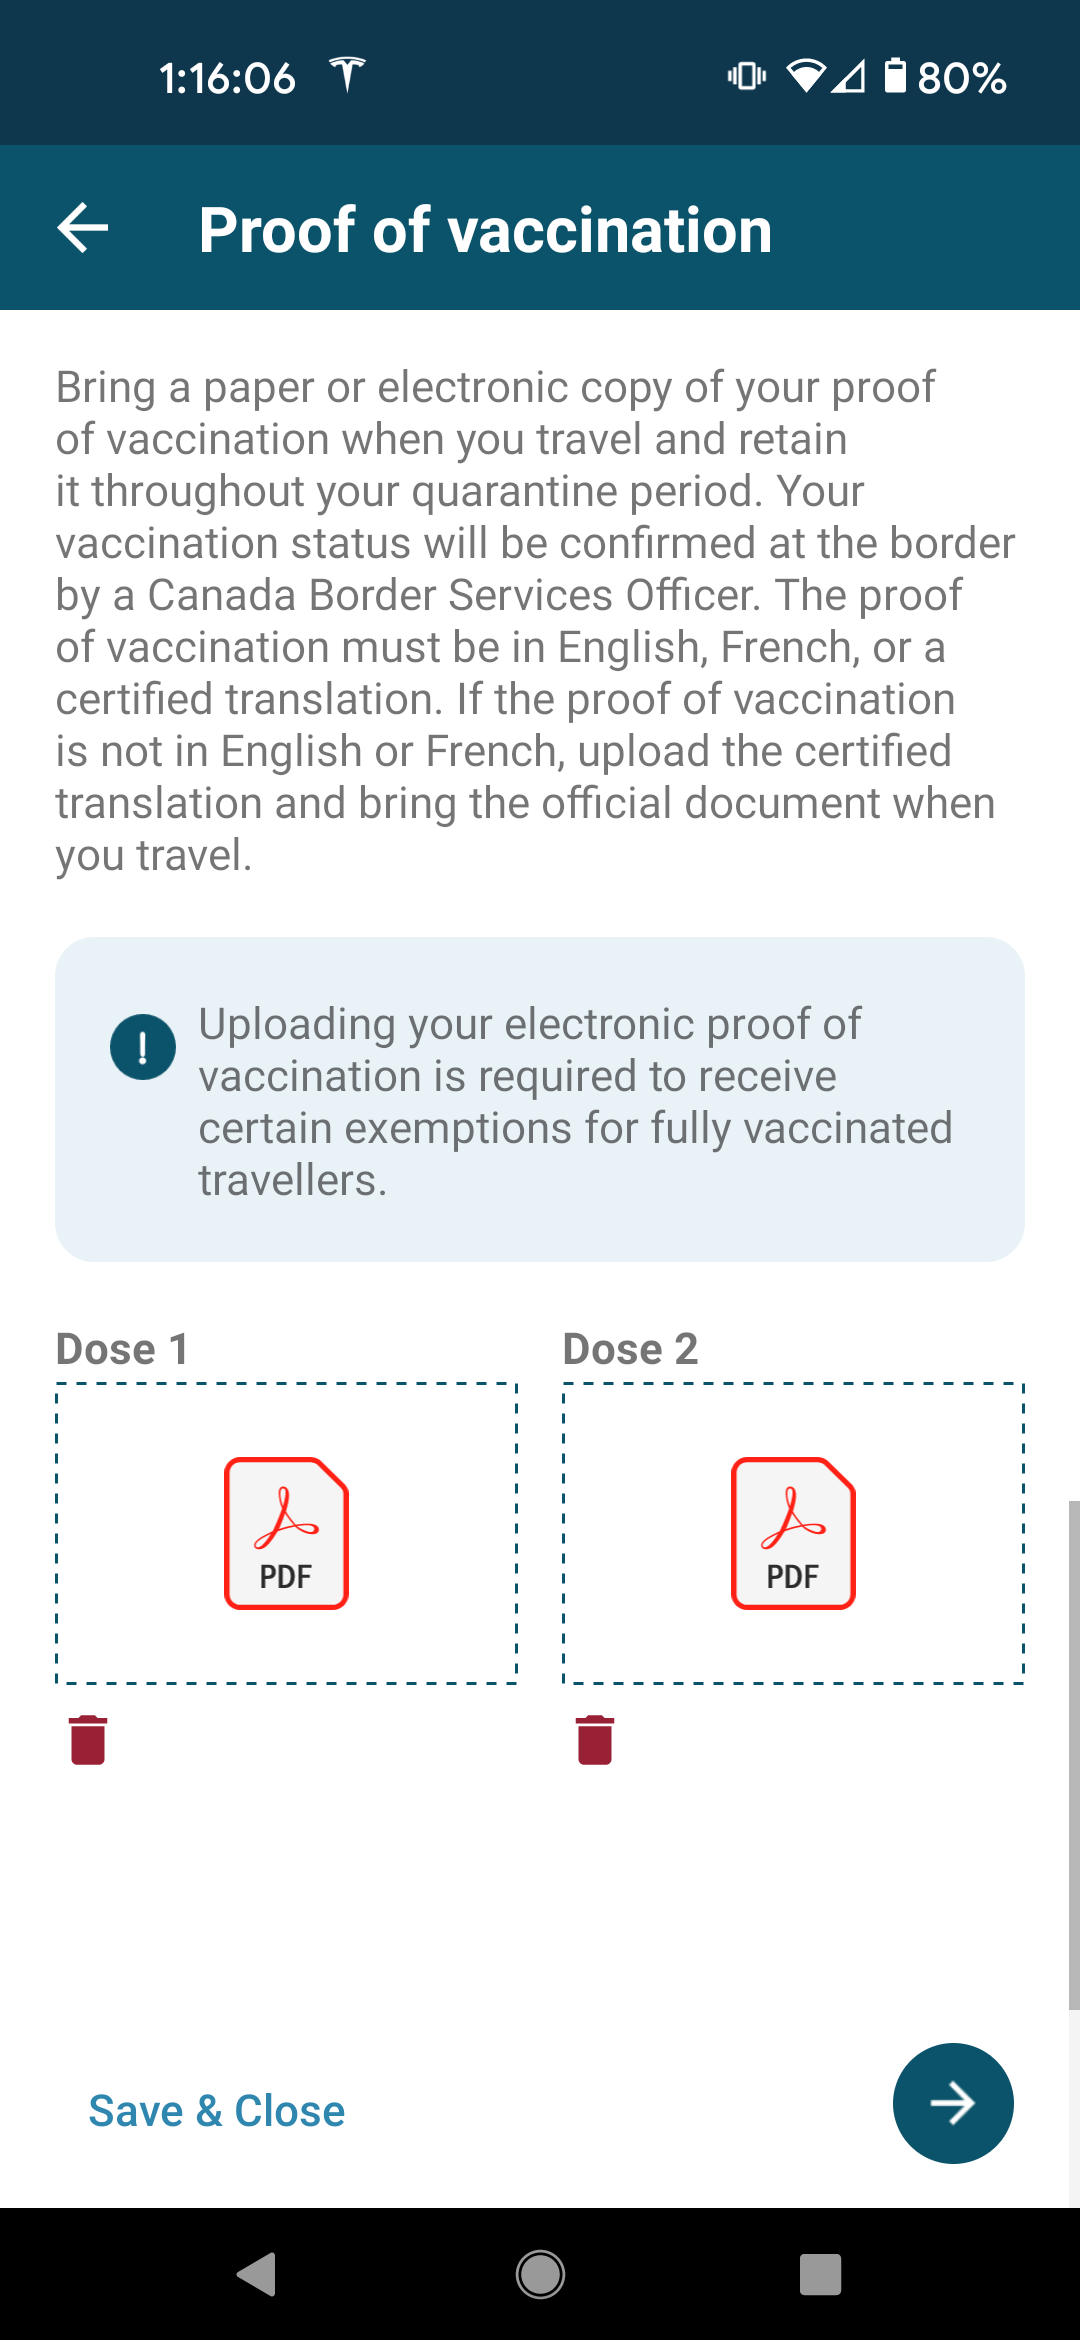
After verifying that you are indeed fully vaccinated, you will be asked about the specific details of your vaccination. Once you provide these details, you are invited to upload a copy of your records. This is where keeping your records in a cloud storage service comes in handy.
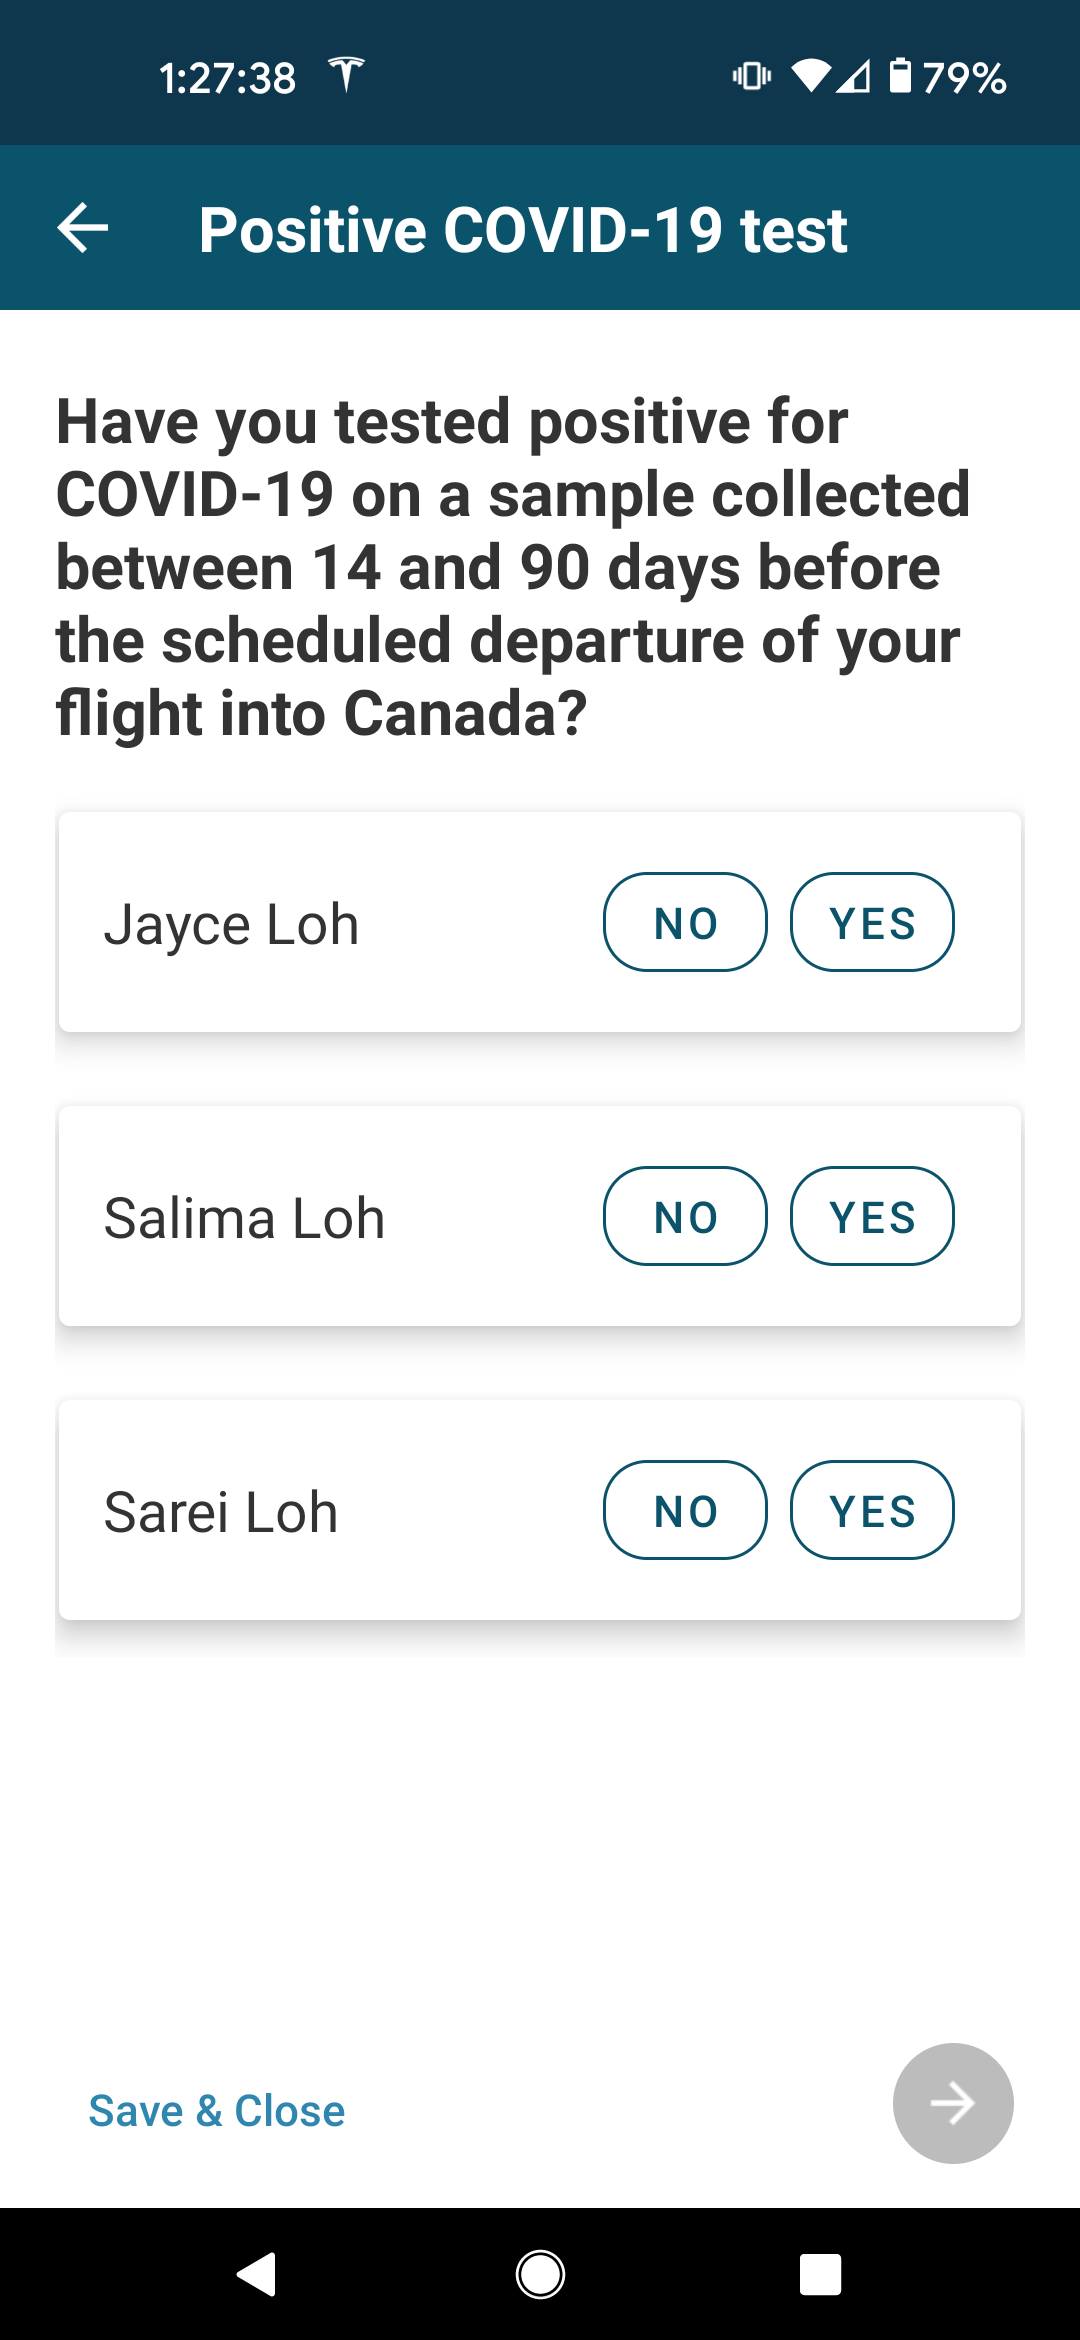
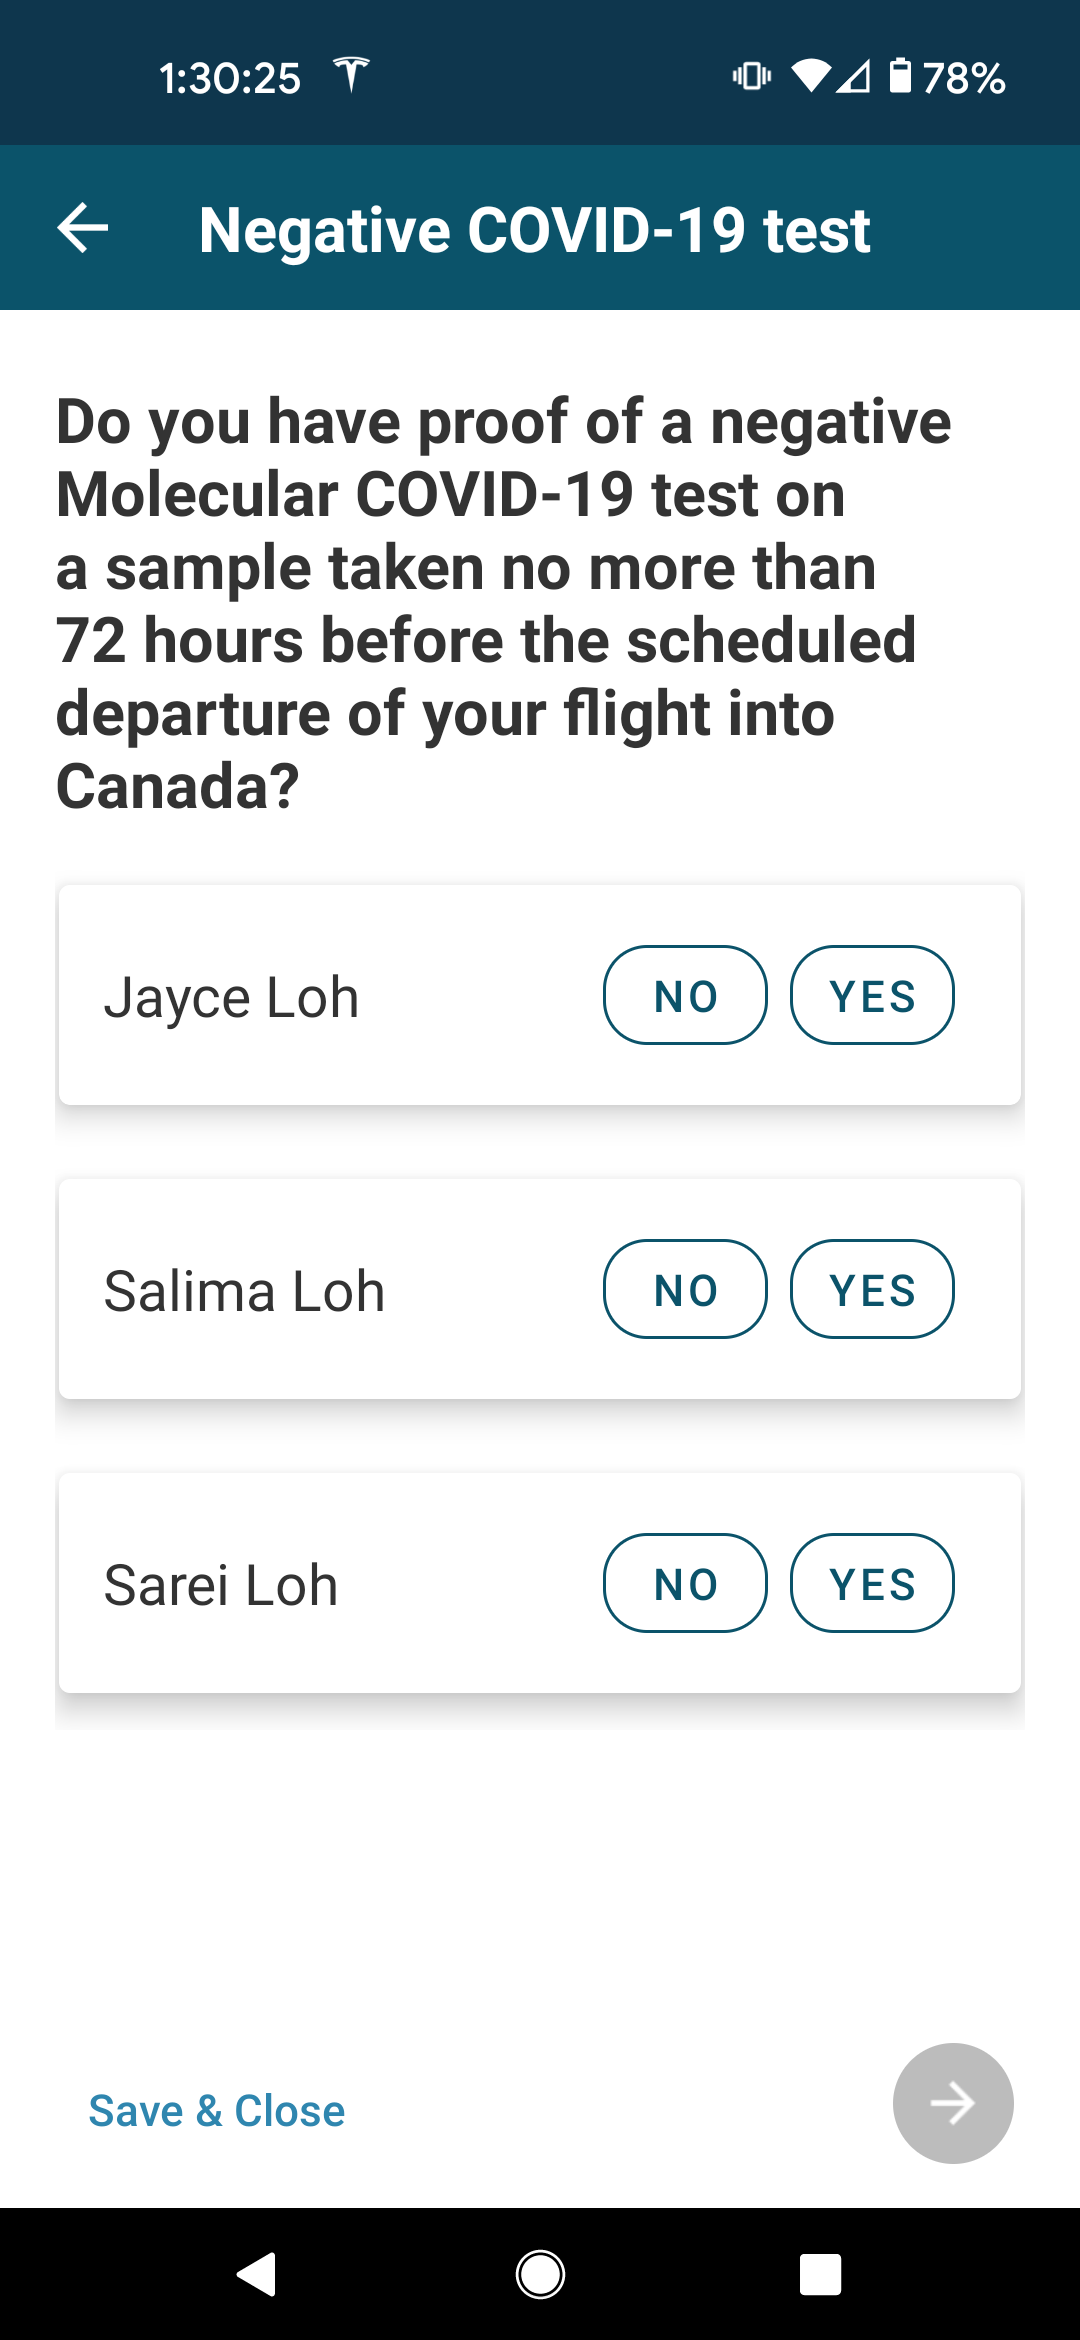
You will now be asked about whether or not you have tested positive for COVID-19 between 14 and 90 days prior to your departure to Canada, as well as whether or not you have a negative COVID test within 72 hours of your departing flight into Canada.
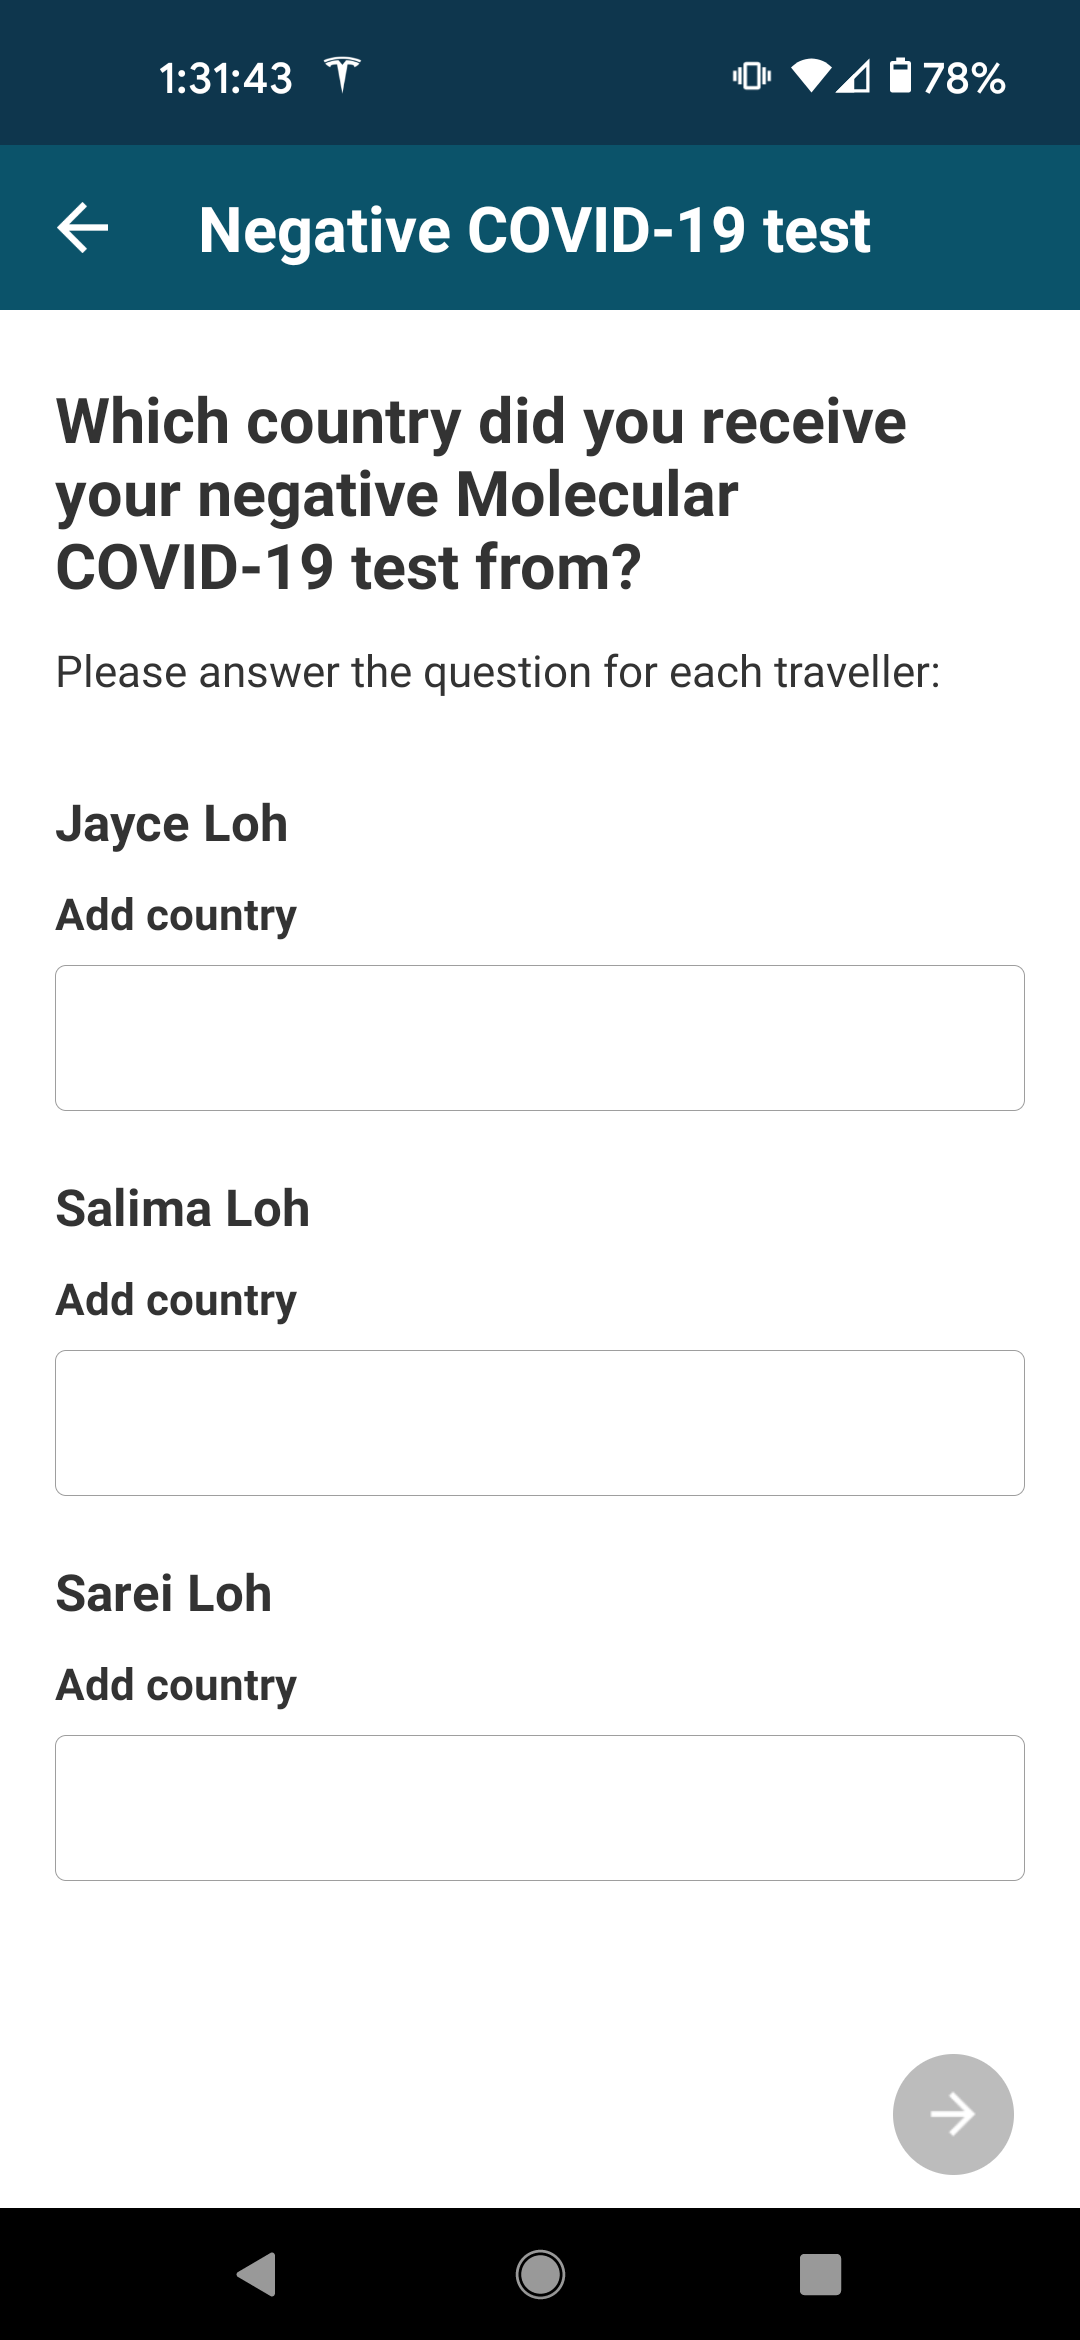
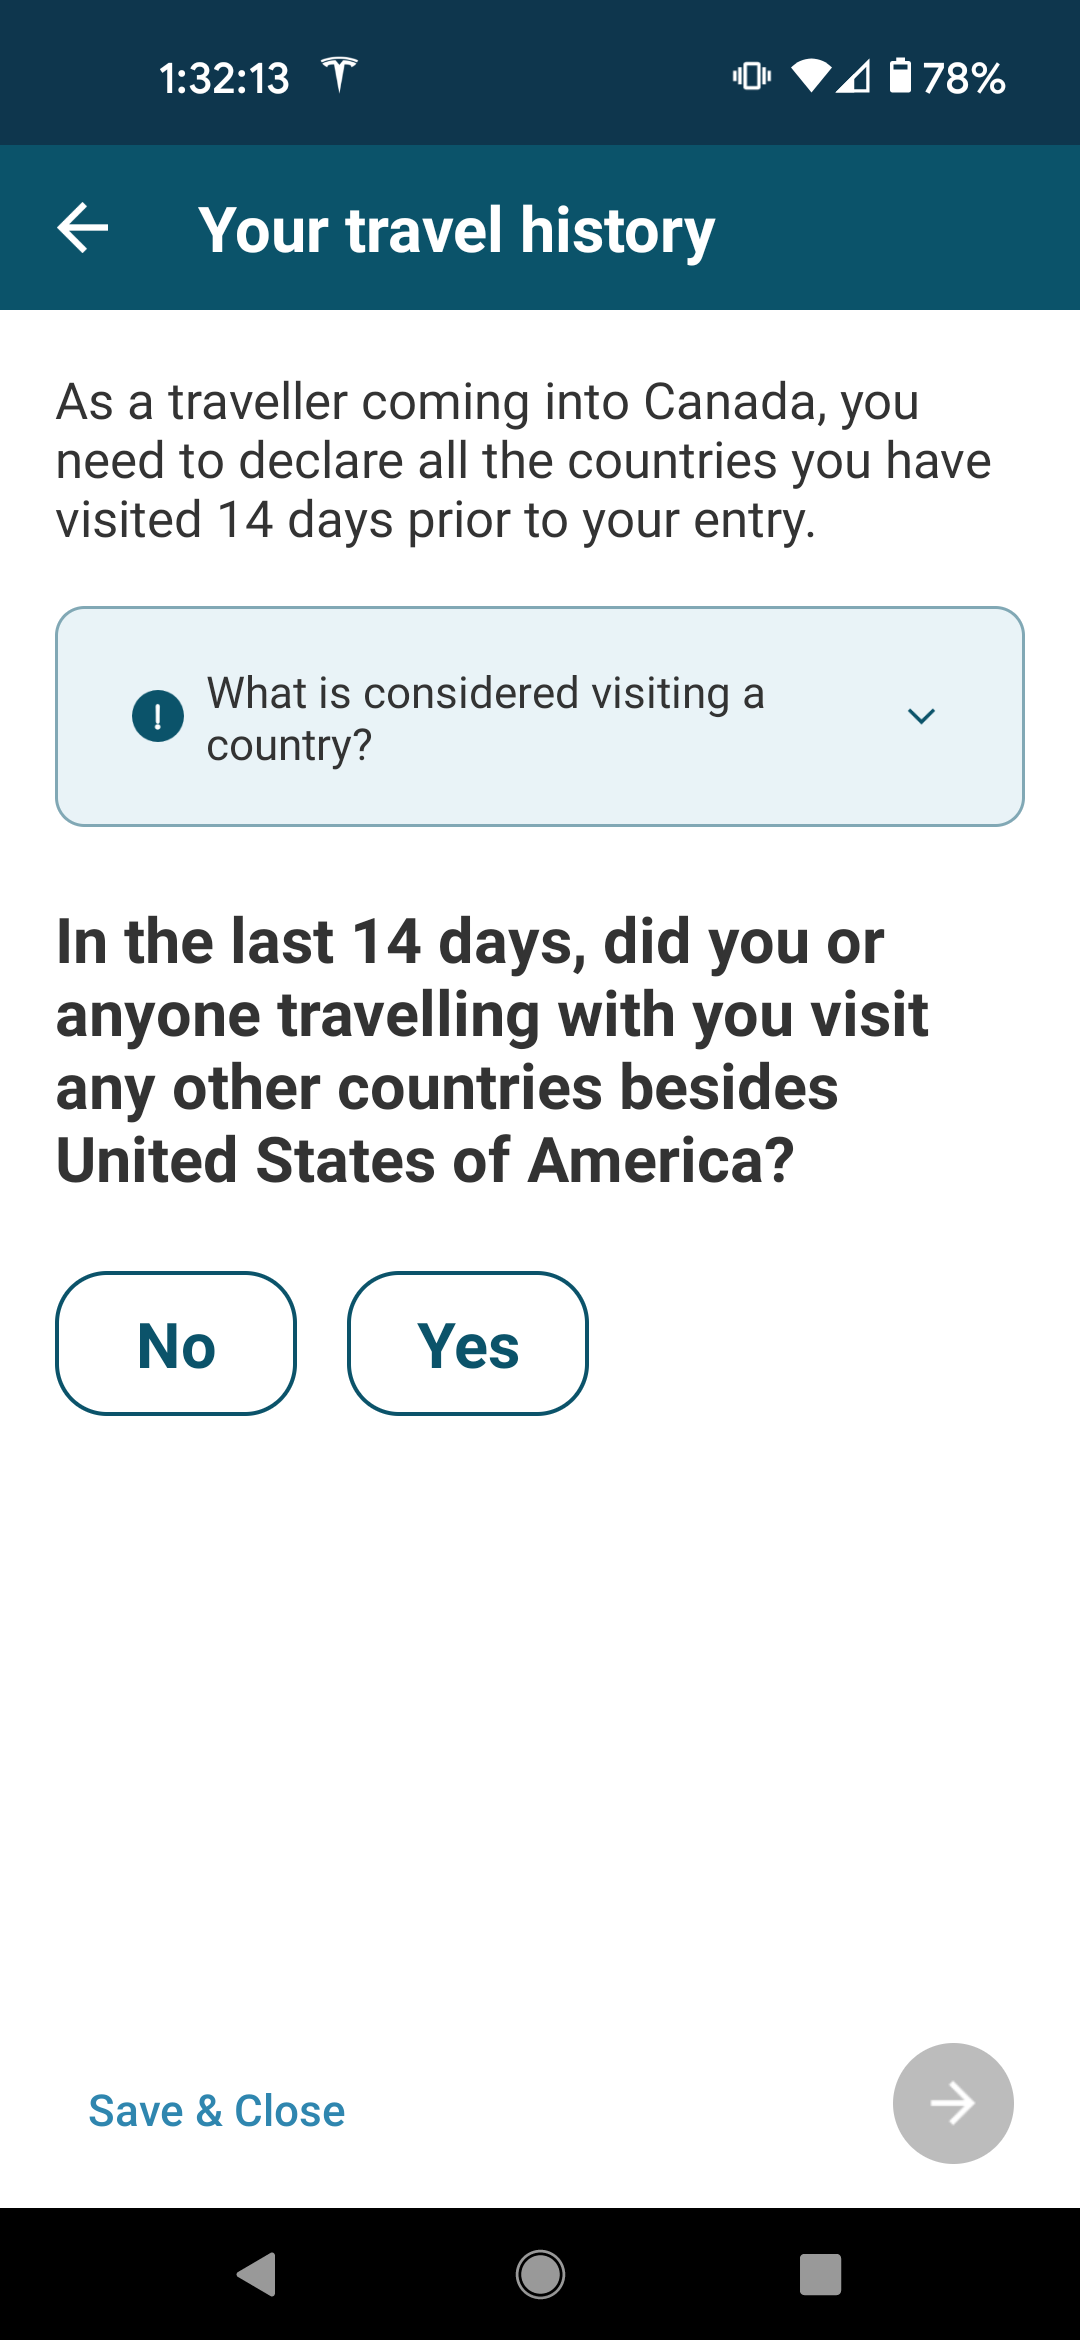
You will be asked which country you received your negative COVID test and then whether you visited additional countries on your trip. For our vacation, we only visited the United States, so it was very straightforward.
Quarantine Plan Questionnaire
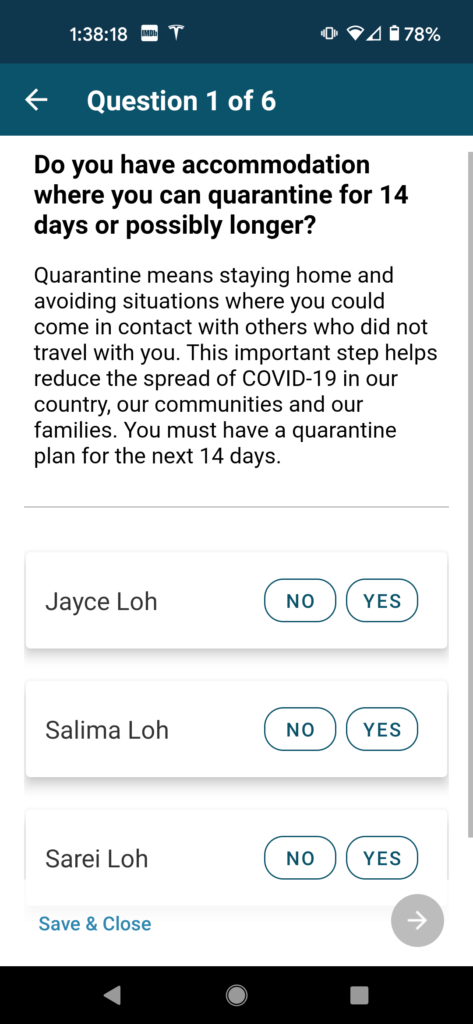
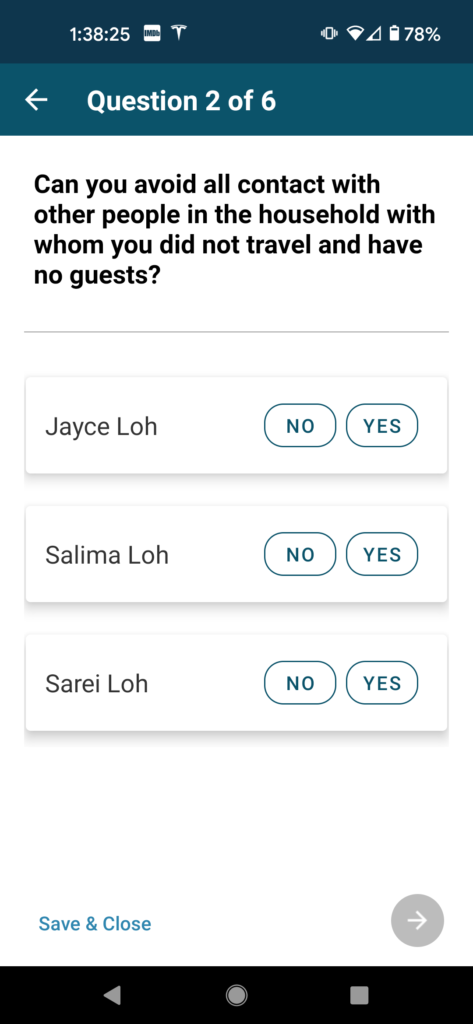
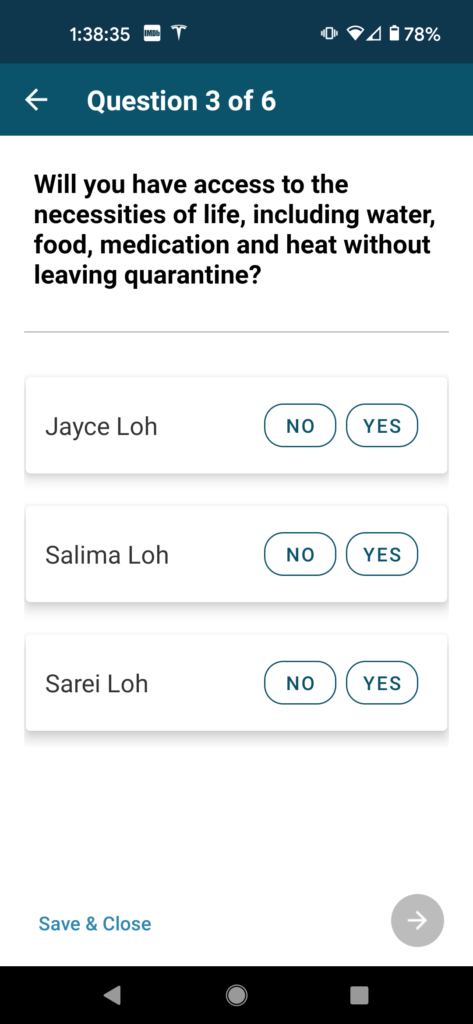
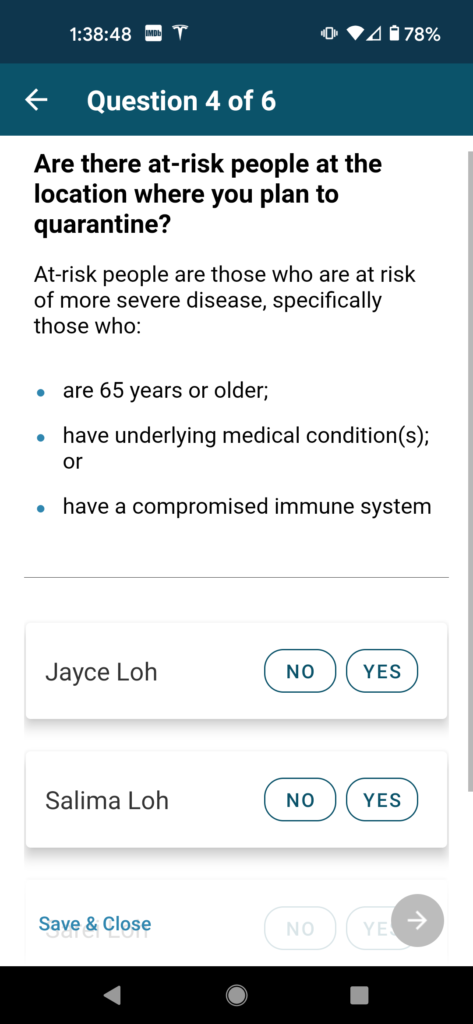
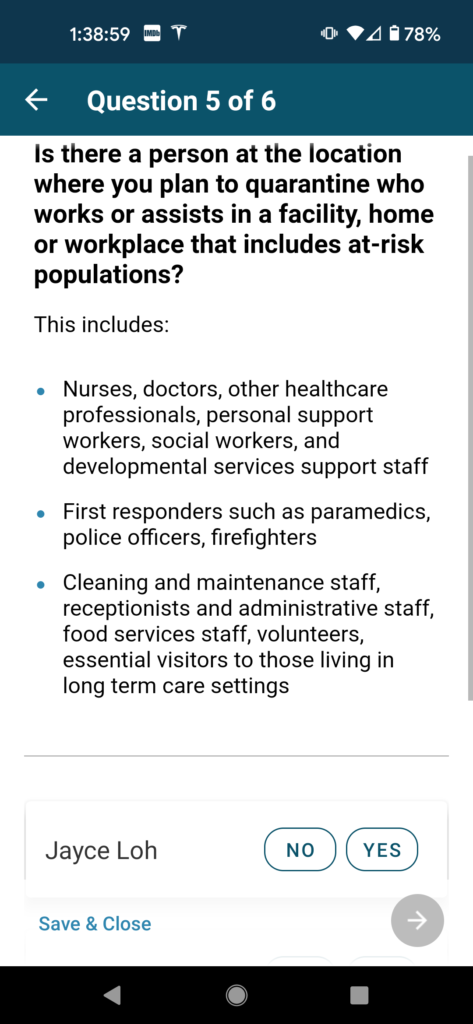
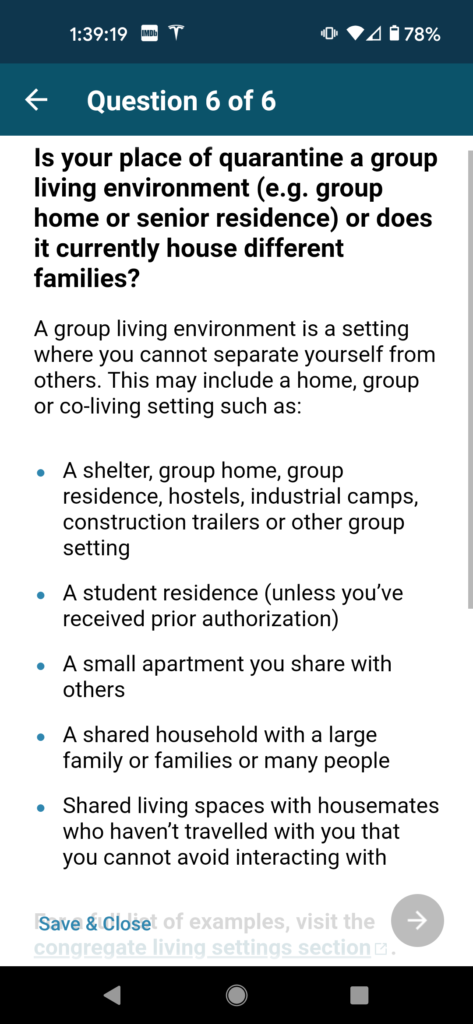
In this next phase of questions, you will be asked about your quarantine plans in the event that you are required to quarantine. This section is pretty straightforward, but it does contain a question that was a bit confusing, so follow along closely to make sure you answer correctly.
This is the question that requires a bit of thought. You are being asked whether or not you have made arrangements for a three-night stay if you do not meet travel exemptions. We had to make the assumption here that all our information was in order and that we were exempt. Thus, we answered “No” to this question.

At this stage, you are presented with this very scary message stating that your failure to book a quarantine hotel could result in fines – but if you are exempt from quarantine, this does not apply to you. Thank you for the very confusing and scary message, Government of Canada.
(The mandatory hotel quarantine has now been phased out for all travellers as of August 9, 2021, so I’d expect that you’ll no longer see this message during your ArriveCAN process going forward.)
Finally, you are asked for the actual location of your your home/quarantine location.

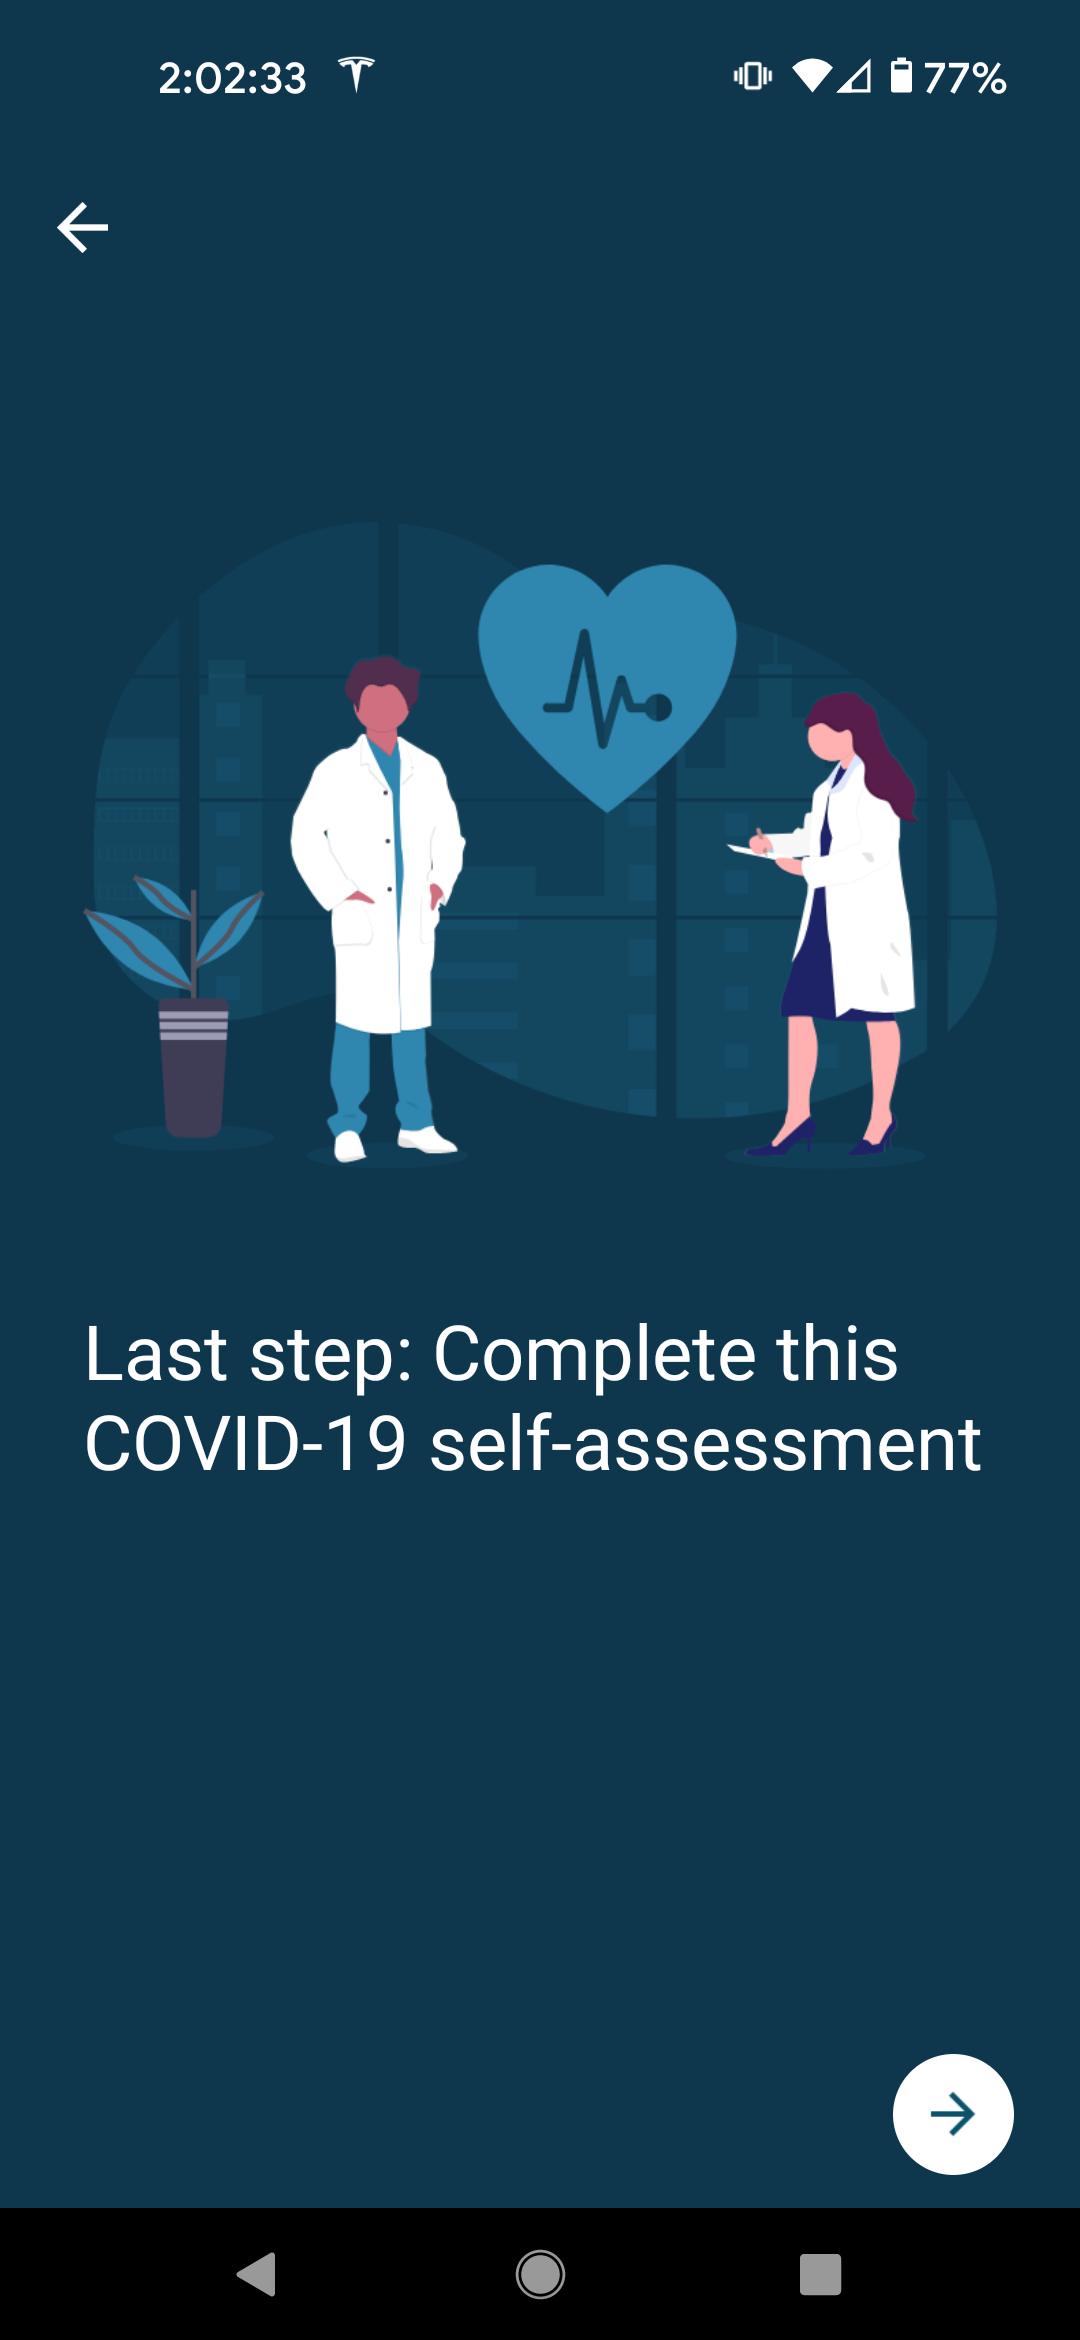
Self Assessment and Completion
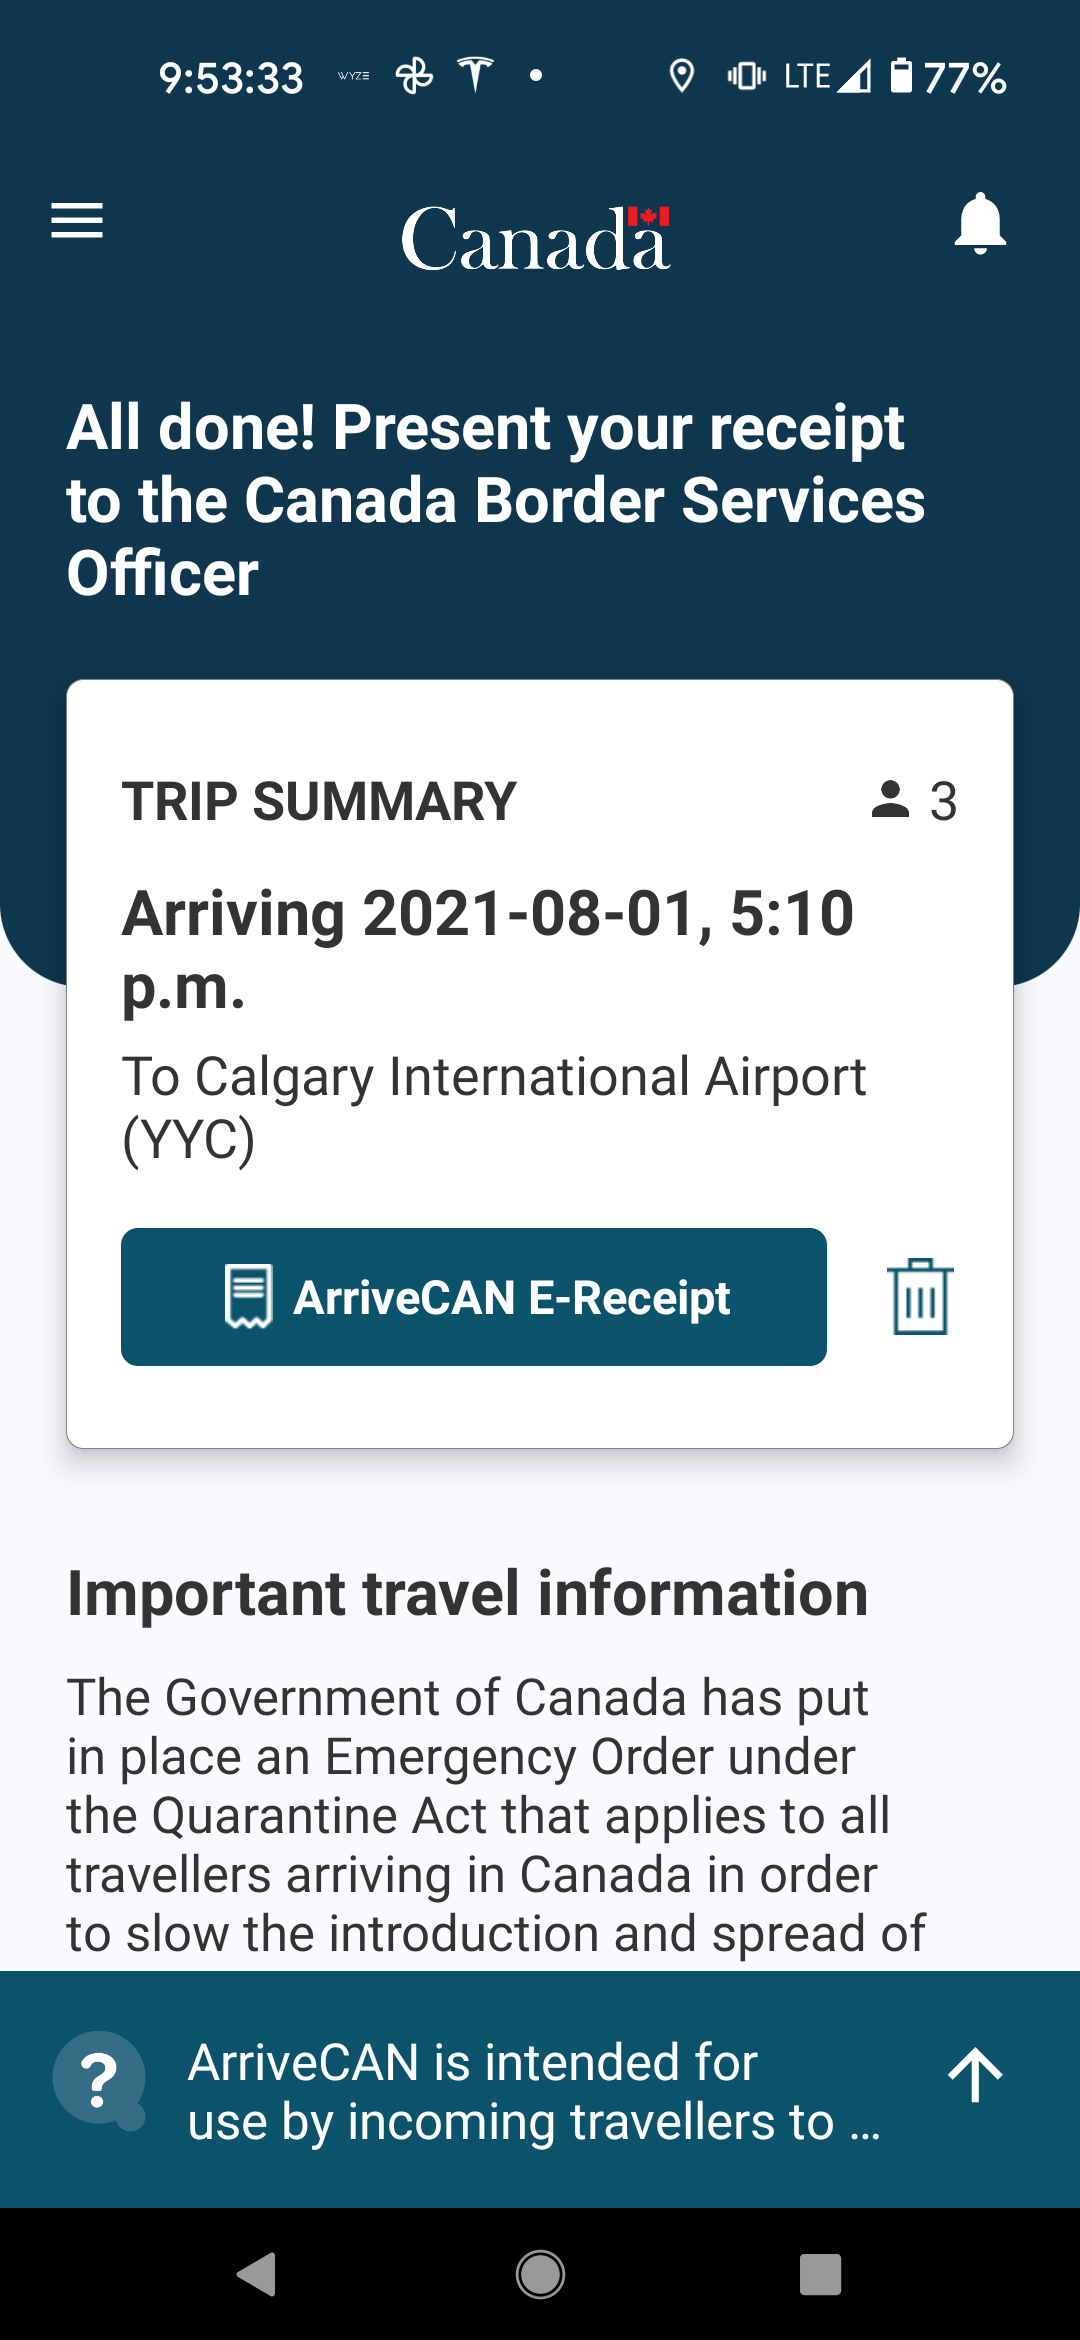
Now for final section before you complete the ArriveCAN process and are presented with a receipt to show the Customs Agents at the border.
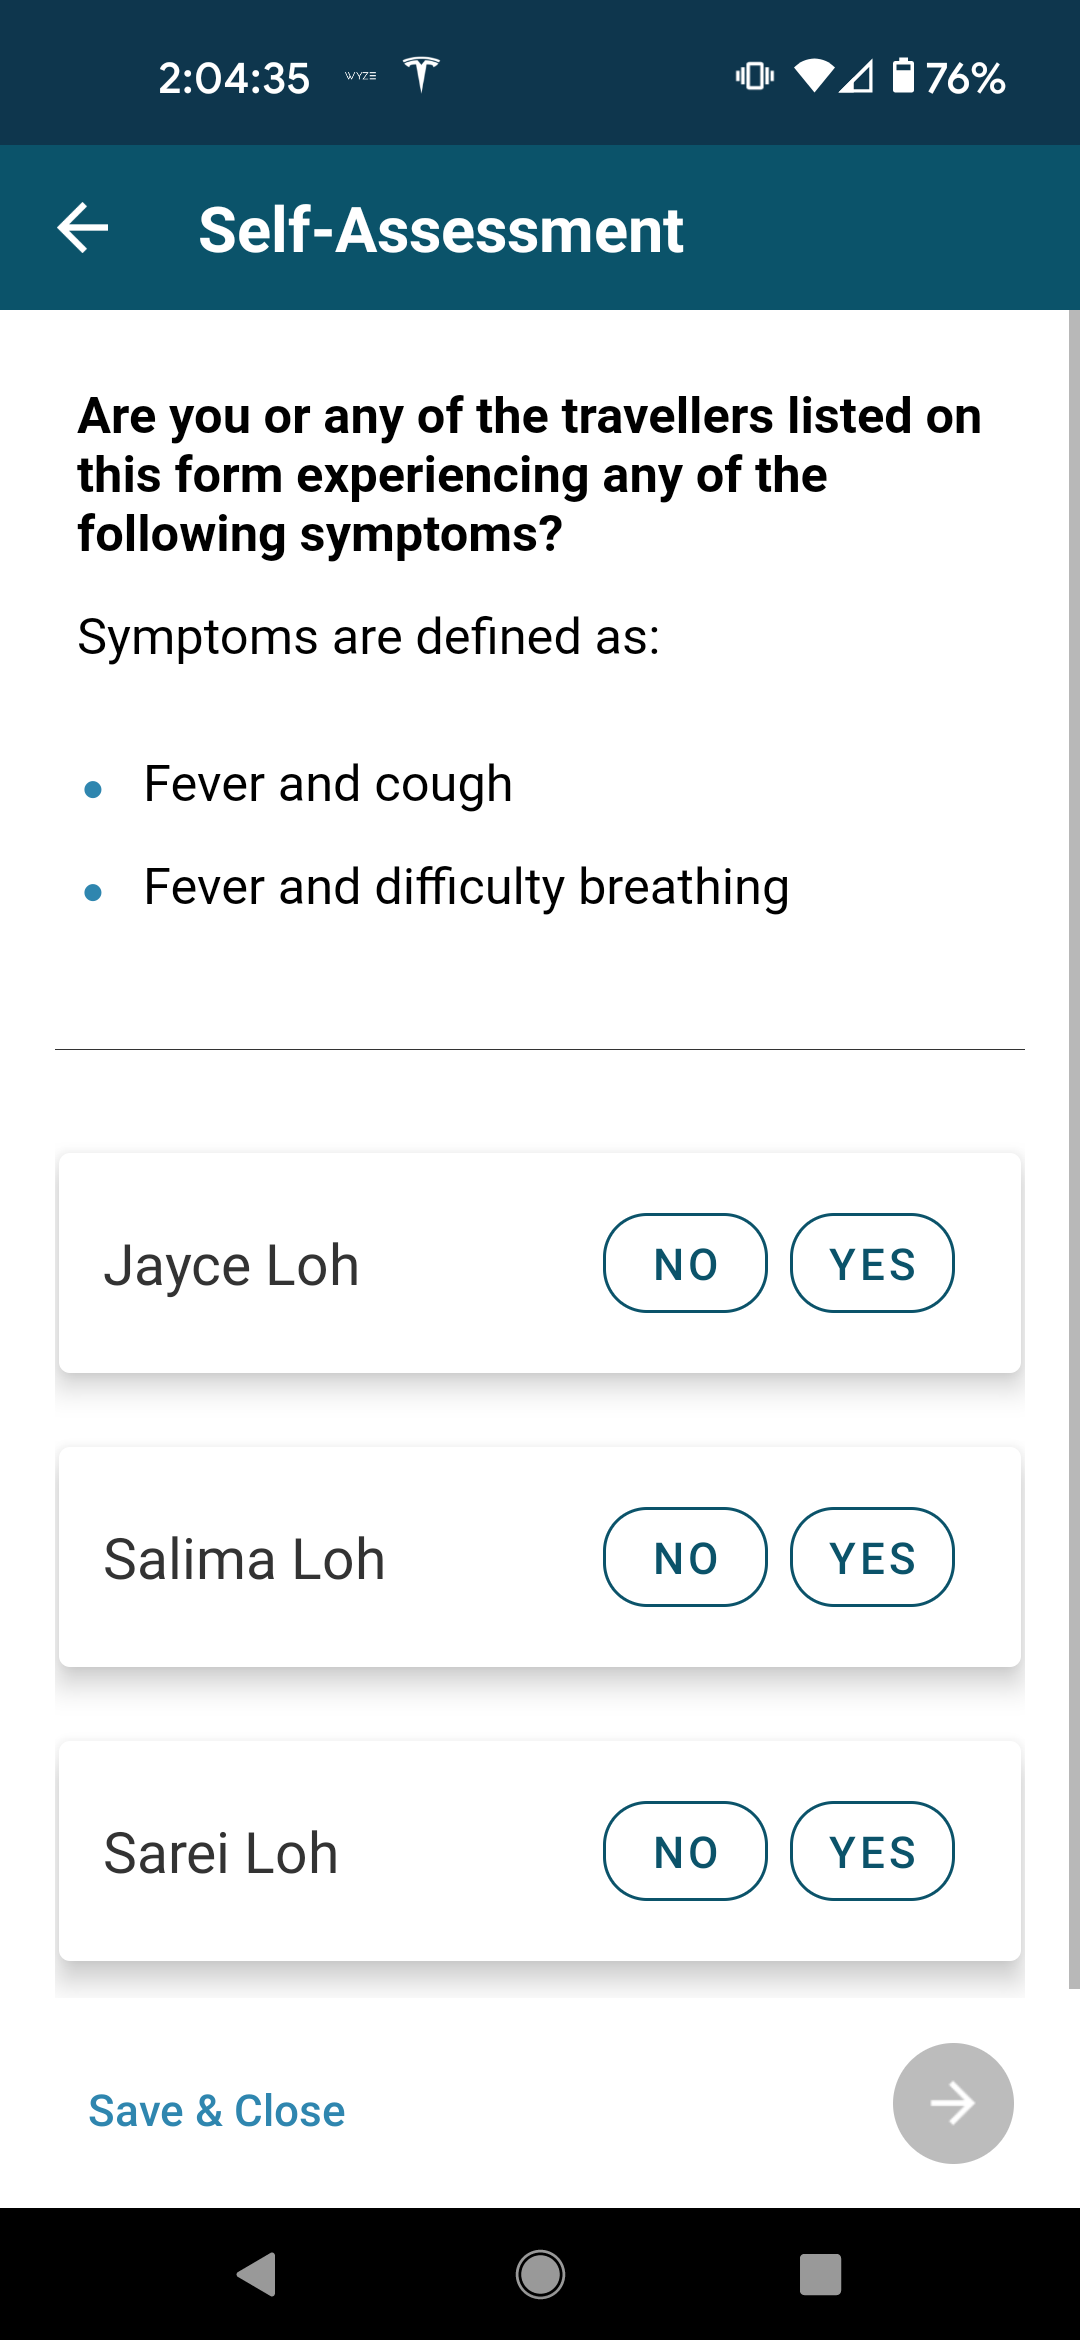
As if your negative COVID-19 test results weren’t enough, you are also asked if you are presenting with any common symptoms of COVID such as fever, cough, or difficulty breathing.
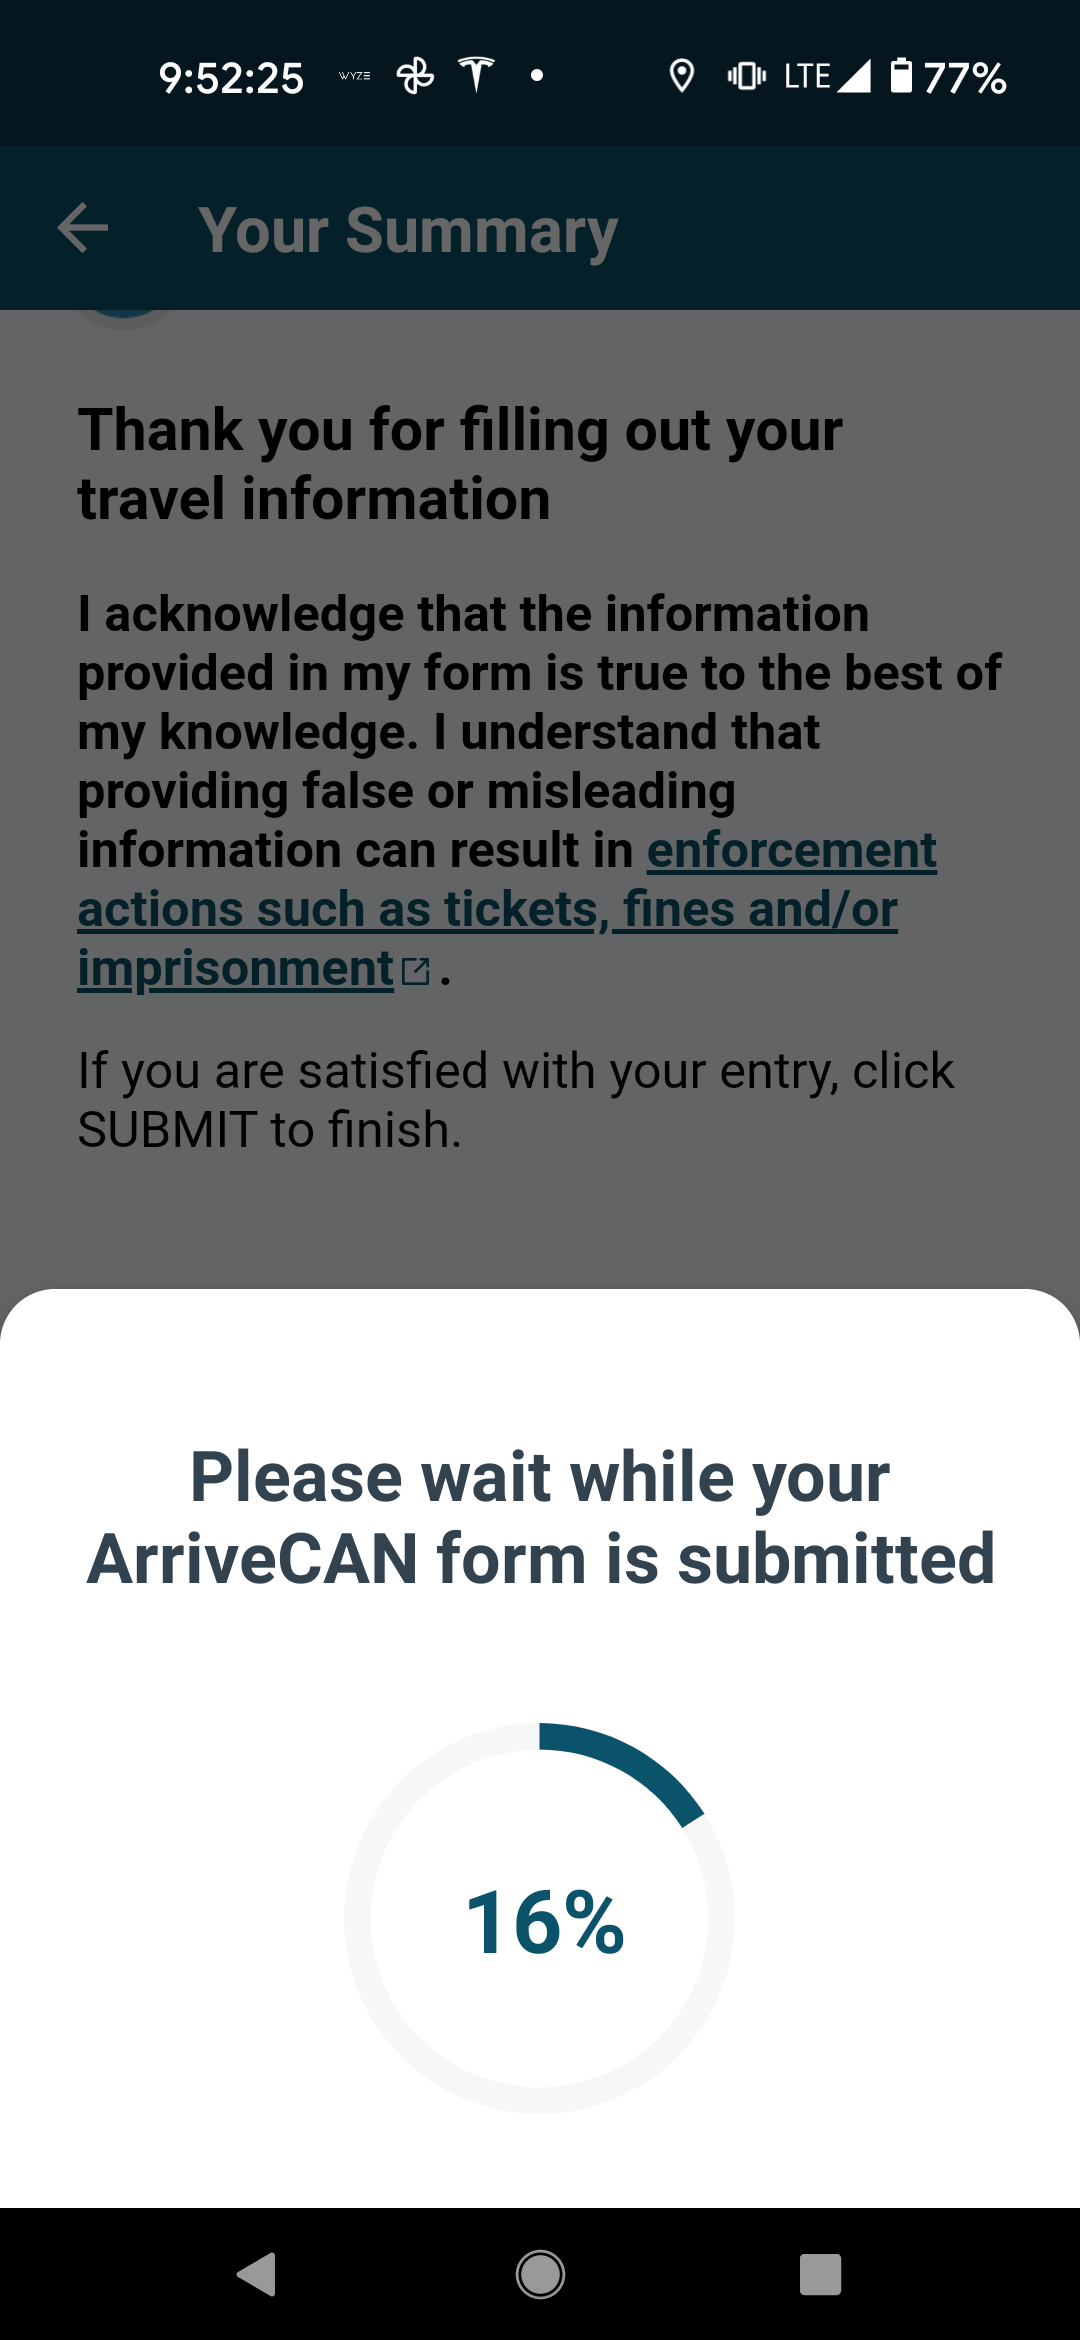
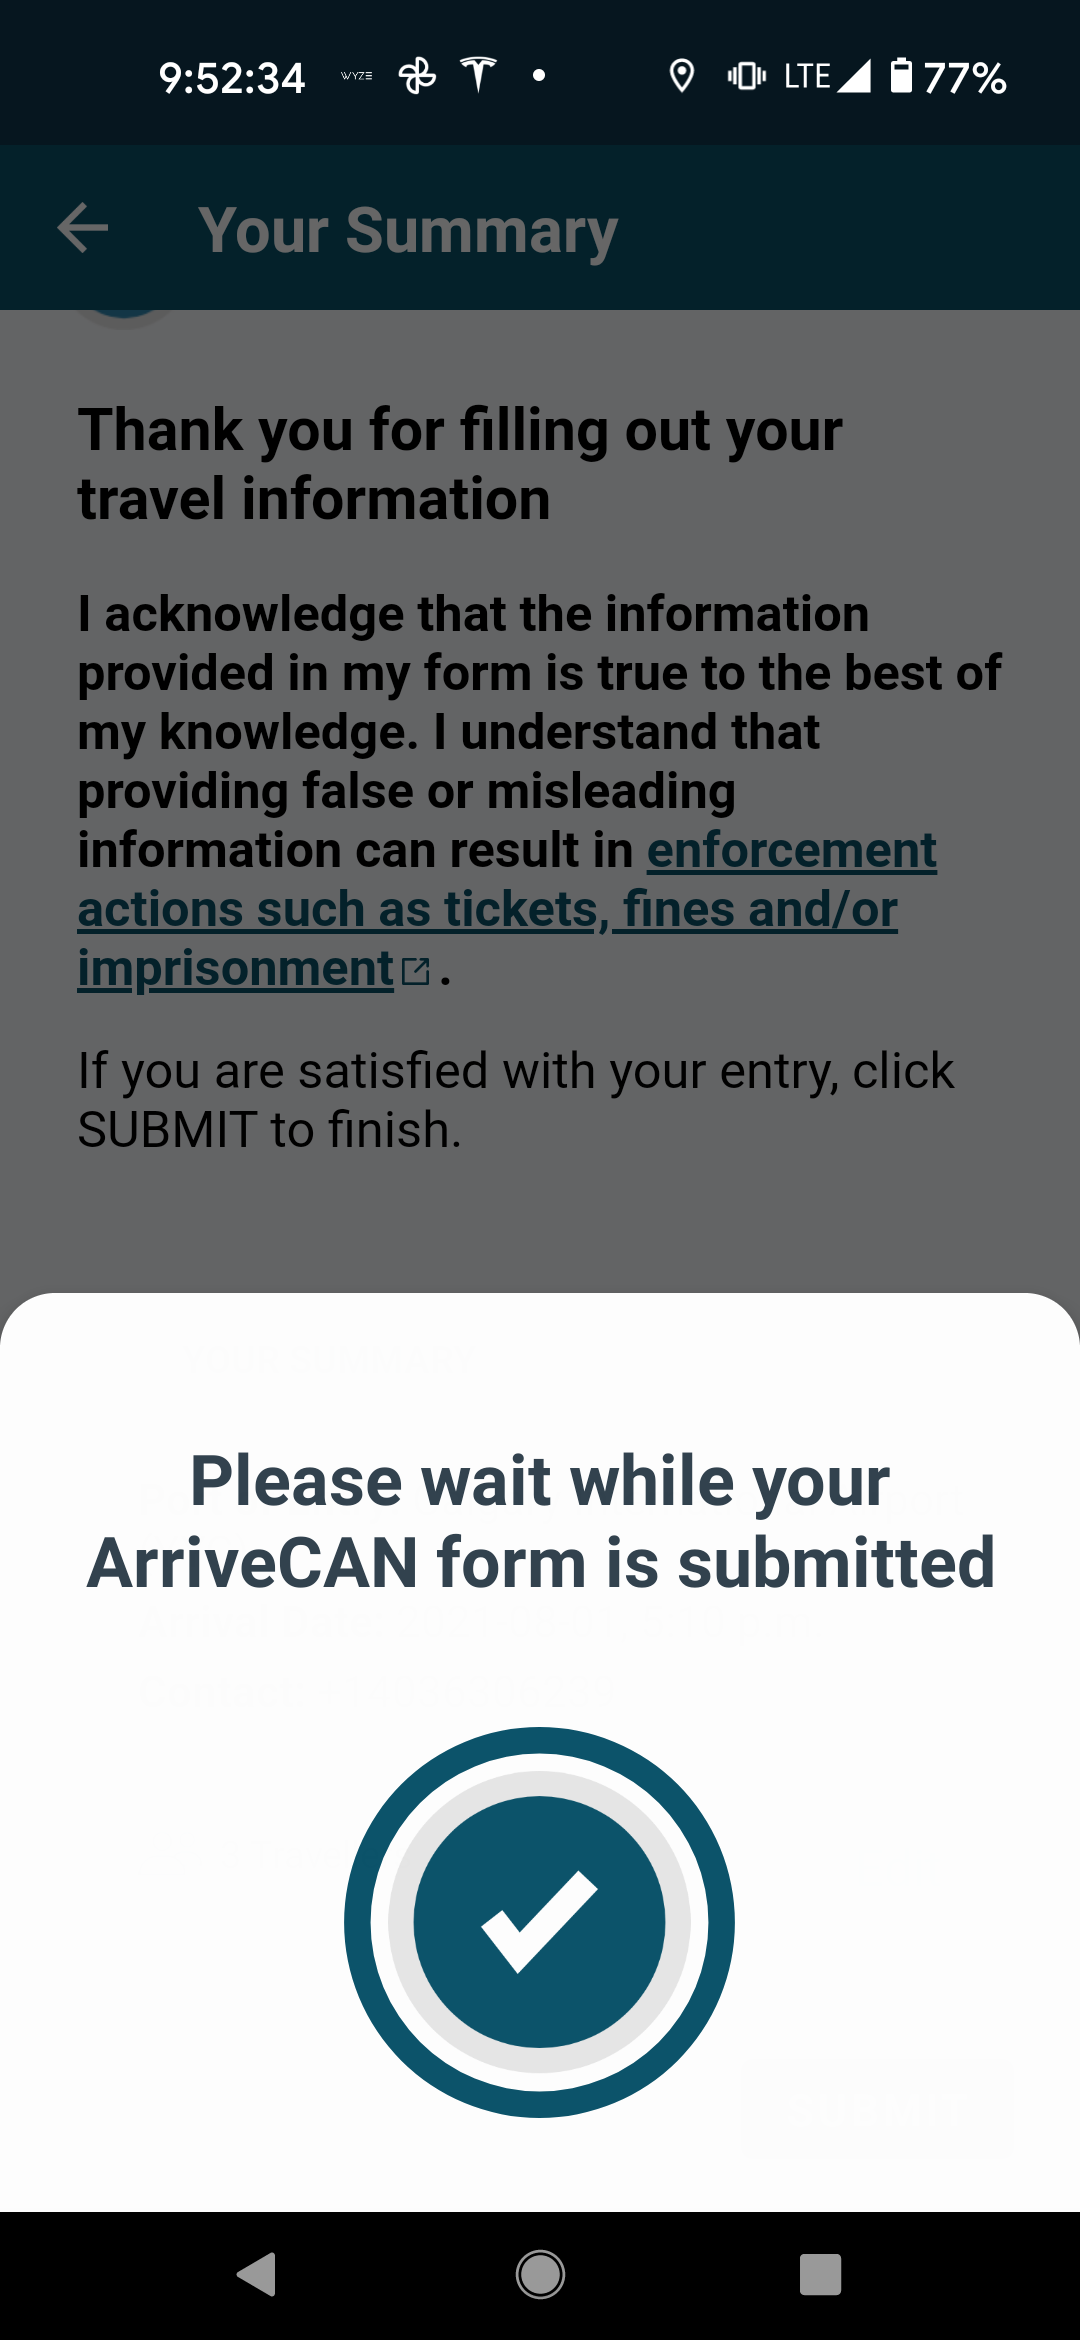
Once you complete this simple section, you are invited to submit the information.

And once you hit submit, the information is uploaded – presumably to the Canadian Border Services Agency.
Conclusion
The ArriveCAN app opens up the ability for fully vaccinated Canadians to travel internationally and return home without the need for quarantine.
That being said, the application, while fairly intuitive, is incredibly long, clocking in at 32 separate pages of information and questions. With a larger family, this could take quite a bit of time to complete, so please take that into consideration.
An internet connection is not required to use the app itself, but is required to upload the information to Canada’s border services. If you do not have a smartphone capable of installing and using the ArriveCAN app, you can also use any computer to submit your information by visiting the ArriveCAN online portal.












Perfect!!!, Going to use my laptop in my hotel room. looks easier.
Thanks for this article. I’m curious. Is this purely for the CBSA? Would the airline ask to see your completed ArriveCan App? I’m wondering if at the gate/check-in they require all the same documentation (so you’ll need to have it for the app AND at check in/boarding?)
In my experience, the gate agent asked for the completed ArriveCAN app, in addition to our passports and negative test results. I think it’s one of those “your mileage may vary” types of situations. Gate agents are supposed to check but it would not surprise me if not all gate agents ask for your ArriveCAN receipt.
Great write up. Is there a point where you have to upload JPEG, PDF, etc of your immunization record and negative molecular COVID test?
Immunization record yes, negative COVID test, no. The place in the app you upload your immunization record is under the Proof of Vaccination section and the screenshot in question is: https://30kr7b1ef55015ejyx3x88x1-wpengine.netdna-ssl.com/wp-content/uploads/2021/08/Screenshot_20210807-131606.png
Great article. This is exactly what I was looking for! Thanks.
This is a great article Jayce. It appears that it’s only for essential travel to the USA? So you can’t go on vacation? Also my sister wants to go but she’s not vaccinated but did have Covid this past spring but recovered- I’m assuming she will have to do the 14 day home quarantine no exceptions there?
Final question, what did the tests cost per person there and back? Thx
Hi Al,
You can download the ArriveCAN app and walk through the flow as if you were your sister. I believe that those that have had COVID within the last 90 days are exempt but I would urge you to check with the authorities to be certain.
In terms of costs, it was the $40 Antigen pre-departure test. The negative COVID test that is required was covered in my previous article: https://princeoftravel.com/blog/how-to-get-a-free-covid-19-test-in-the-us/
And to answer your initial question – yes, you can go on vacation